Savory Granola: The Perfect Crunchy Topper

Lately I have been all about taking traditionally sweet recipes and making them into savory ones. Just like I did with my savory oatmeal muffins, I am doing it once again with this savory granola. Although this is called granola, it isn’t a typical granola at all. But for lack of a better term, and for some SEO purposes, I am calling it savory granola, insert *shrugs shoulders* emoji.
This post contains affiliate links, which means I may receive a small commission at no extra cost to you. I only share products and services I have personally used and love. Disclosure here.

Do You Make Time For Fun
Even though we are having a ridiculously warm and humid day here in Toronto on the first day of October, it is fall despite what the calendar says. And this savory granola is the perfect snack to make. Lately, I’ve been feeling like my old self again. Summer was a lot of fun but I lacked a lot of discipline when it came to work, which is weird because I am one of those people that loves what they do.

I think it all comes down to how rough the beginning of the year was for me. As much as I tried to take time for myself post-breakup and I did, I also really focused on work a lot. And by the summer time, I really wanted to slow down and focus on having fun. Something I hadn’t really done for so long. You know that kind of fun you have that brings a huge smile to your face to even think about. That’s what I did. I think we underestimate how important fun is when we are adults. We are always doing something and rarely do we allow ourselves to simply just be and enjoy ourselves.
When was the last time you just had fun? If it’s taking you a little while to think of something, that could be a good indication that you need to change that.

What is Savory Granola
But what is this savory granola really all about?
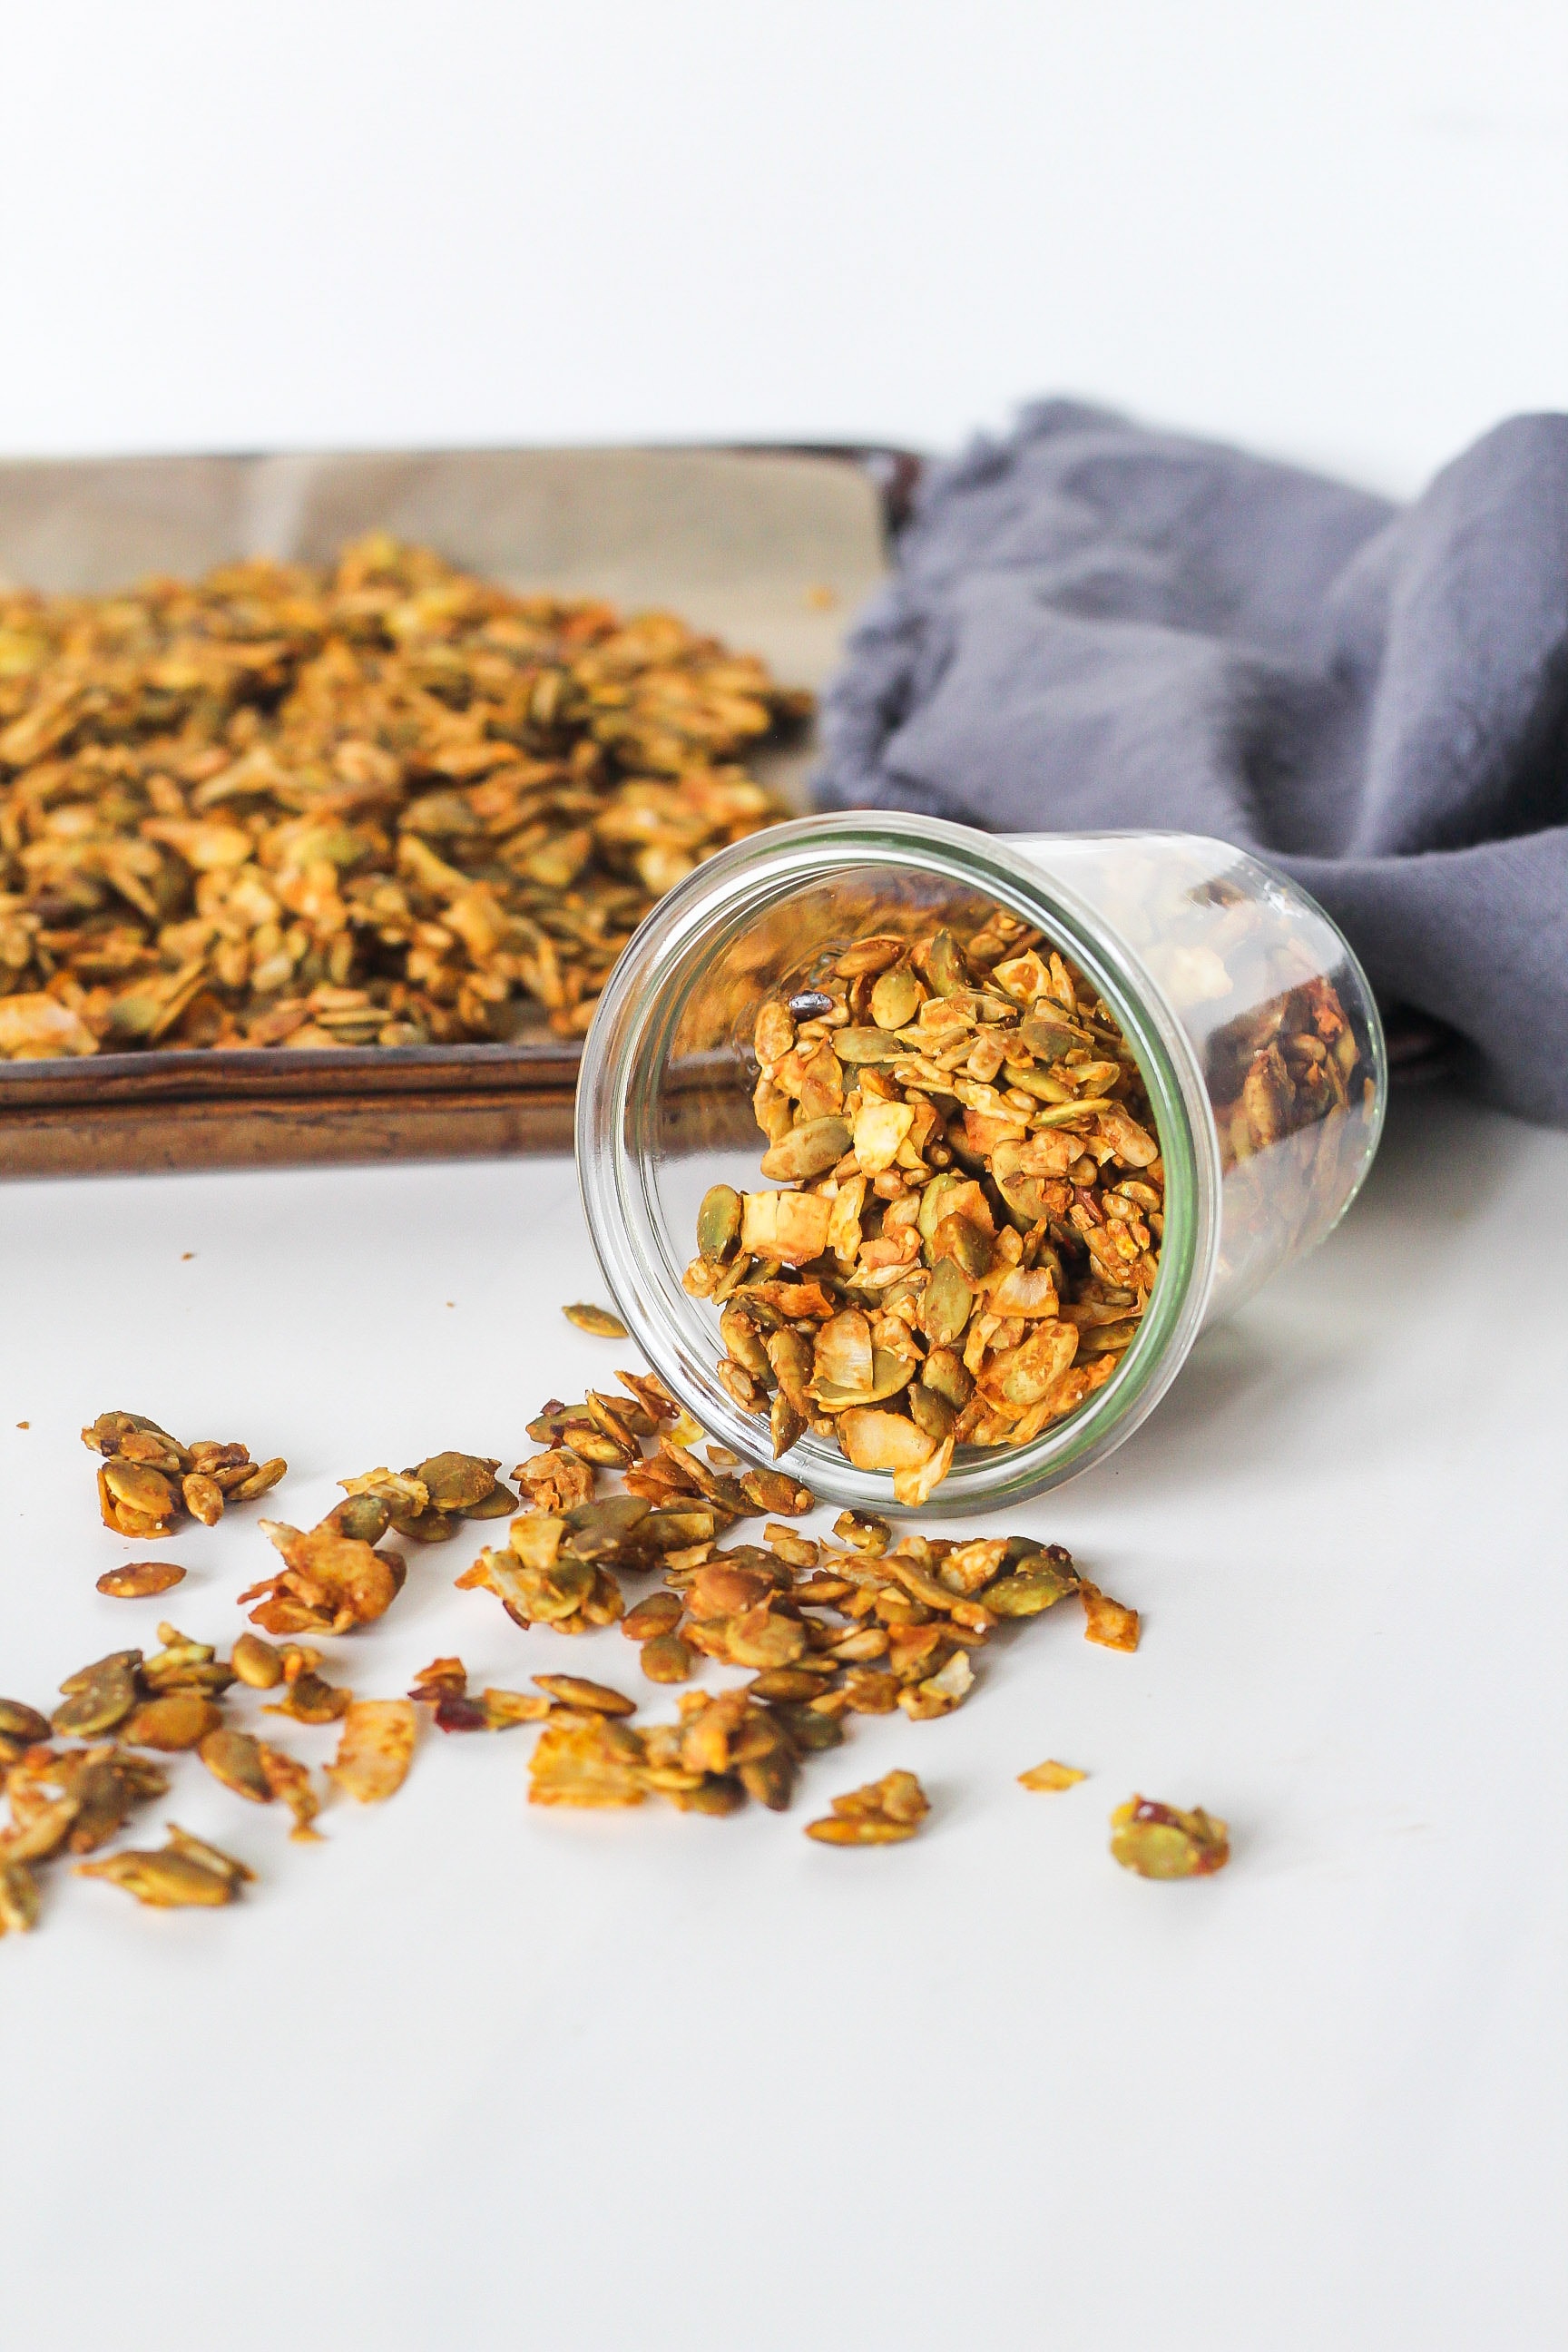
Like I mentioned, this savory granola is not really a typical granola. There are no rolled oats and I wouldn’t top my yogurt with this. This granola is more of a topper. The cheesy/cheezy flavour combined with some tamari and apple cider vinegar make it a really tasty snack that you can eat in a variety of ways.
You can check out some sweeter granola options such as this best ever chocolate hazelnut granola.
How to Enjoy Savory Granola
Of course you could always just enjoy this on its own, by the handful as a snack. But other than that, here are some ideas on how to enjoy this tasty savory granola:
- As a soup topper: it could stand in for traditional croutons on your next bowl of soup. If you need some soup inspiration, check out my cauliflower soup, or this post which contains lots of butternut squash soup recipes. I think it would be amazing on some butternut squash soup.
- On top of toast: Spice up your next slice of avocado toast with a sprinkle of this granola. I guarantee it will add a nice crunch and flavour.
- On a salad: I love a good bite of crunch on my salads and these little clusters make a perfect addition.
- On your favourite pasta: These could be crushed up a bit more and added as a topper on your favourite pasta. My go-to would be my butternut squash pasta sauce.
- On pizza: Yup, I think it would be a great topper on top of your next slice of pizza. It would be great on my vegan mushroom pizza, just saying!

Believe it or not, that is just the beginning of how you can enjoy this savory granola. The options are endless. If you make this recipe and find a unique way to enjoy it, I’d love to hear from you! Just tag me on Instagram or leave a comment below.
Print
Savory Granola: The Perfect Crunchy Topper
- Prep Time: 5
- Cook Time: 18
- Total Time: 23 minutes
- Yield: 6 1x
- Category: Snack
- Method: oven
- Cuisine: American
- Diet: Vegan
Description
This nut-free savory granola makes the perfect topper or snack. Made with lots of seeds, savory flavours and ready in under 30 minutes.
Ingredients
- 1 cup Pumpkin Seeds raw
- 1/2 cup Sunflower Seeds raw
- 1/2 cups Coconut Flakes
- 1/4 cup Nutritional Yeast
- 2 tbsp Tamari
- 1 tbsp Raw Apple Cider Vinegar
- 1 tsp Red Pepper Flakes
- 1/2 tsp Garlic Powder
- 1/4 tsp Sea Salt
- 1/8 tsp Turmeric Powder
Instructions
- Preheat your oven to 325ºF (163ºC) and line a baking sheet with parchment paper.
- In a small bowl add all of the ingredients from the pumpkin seeds through to the turmeric and mix well with a spoon. Place on the baking sheet and press down gently with your fingers so that the mixture is evenly laid out.
- Bake for 8 minutes, remove from the oven and flip the pieces over with a spatula. Bake for an additional 7 to 8 minutes. Remove and let cool. Then store in an airtight container.