Ninja Creami Frosty (Copycat Wendy’s Frosty)
This post contains affiliate links, which means I may receive a small commission at no extra cost to you. I only share products and services I have personally used and love. Disclosure here.
Looking for a healthy frosty to make at home? Try this Ninja Creami frosty that tastes so close to the real thing, but with only four ingredients and way less sugar.
Why You’ll Love This Ninja Creami Frosty
You’re going to love this creamy, healthy, homemade Wendy’s frosty. It’s thick, creamy, and the perfect consistency, plus it takes only minutes to prep and come together. It’s the perfect treat when a craving for a Wendy’s frosty hits but you don’t want to go out and get one, or simply want a healthier version at home.
The Ninja Creami truly does all the work and the results, they speak for themselves once you have your first taste. Made with only four ingredients, this healthy Ninja Creami frosty is seriously too good to be true.
Why Make a Frosty at Home
The idea for making this recipe all started when I had a serious craving for a Wendy’s frosty. I’m currently pregnant and the craving was all I could think about. There is a Wendy’s not too far from where I live so the thought of going to get one was intensified.
Normally, I would just go and get one and that would be all. But, being pregnant, I was slightly concerned with potential bacteria present in the machines used at fast food places. Of course, a Wendy’s frosty isn’t the healthiest thing in the world, but the possibility of listeria in soft serve is unfortunately a real thing. And I just didn’t want to risk it.
So I set out to make a frosty at home using my Ninja Creami. And honestly, both my husband and I were really impressed with how it turned out. I think you will be too!
Ingredients
- chocolate milk: for that classic chocolate flavour. I like using an organic chocolate milk, but I know a lot of people also love the Fairlife brand as it’s higher in protein. Use whatever you like.
- sugar-free chocolate pudding mix: this acts as a thickener for the frosty and is essential for many Ninja Creami ice cream recipes. You can use a regular chocolate pudding mix, or this sugar free one.
- vanilla extract: a classic frosty has both chocolate and vanilla flavour, so adding some vanilla extract is very much necessary.
- sugar (optional): depending on how sweet you want your frosty, add a little extra sugar. This will depend on the type of pudding mix you’re using and of course your own taste preference. Feel free to use regular white sugar, cane sugar, brown sugar, coconut sugar or a sugar-free alternative such as stevia, although you’ll want to use much less.
How To Make a Ninja Creami Frosty at Home
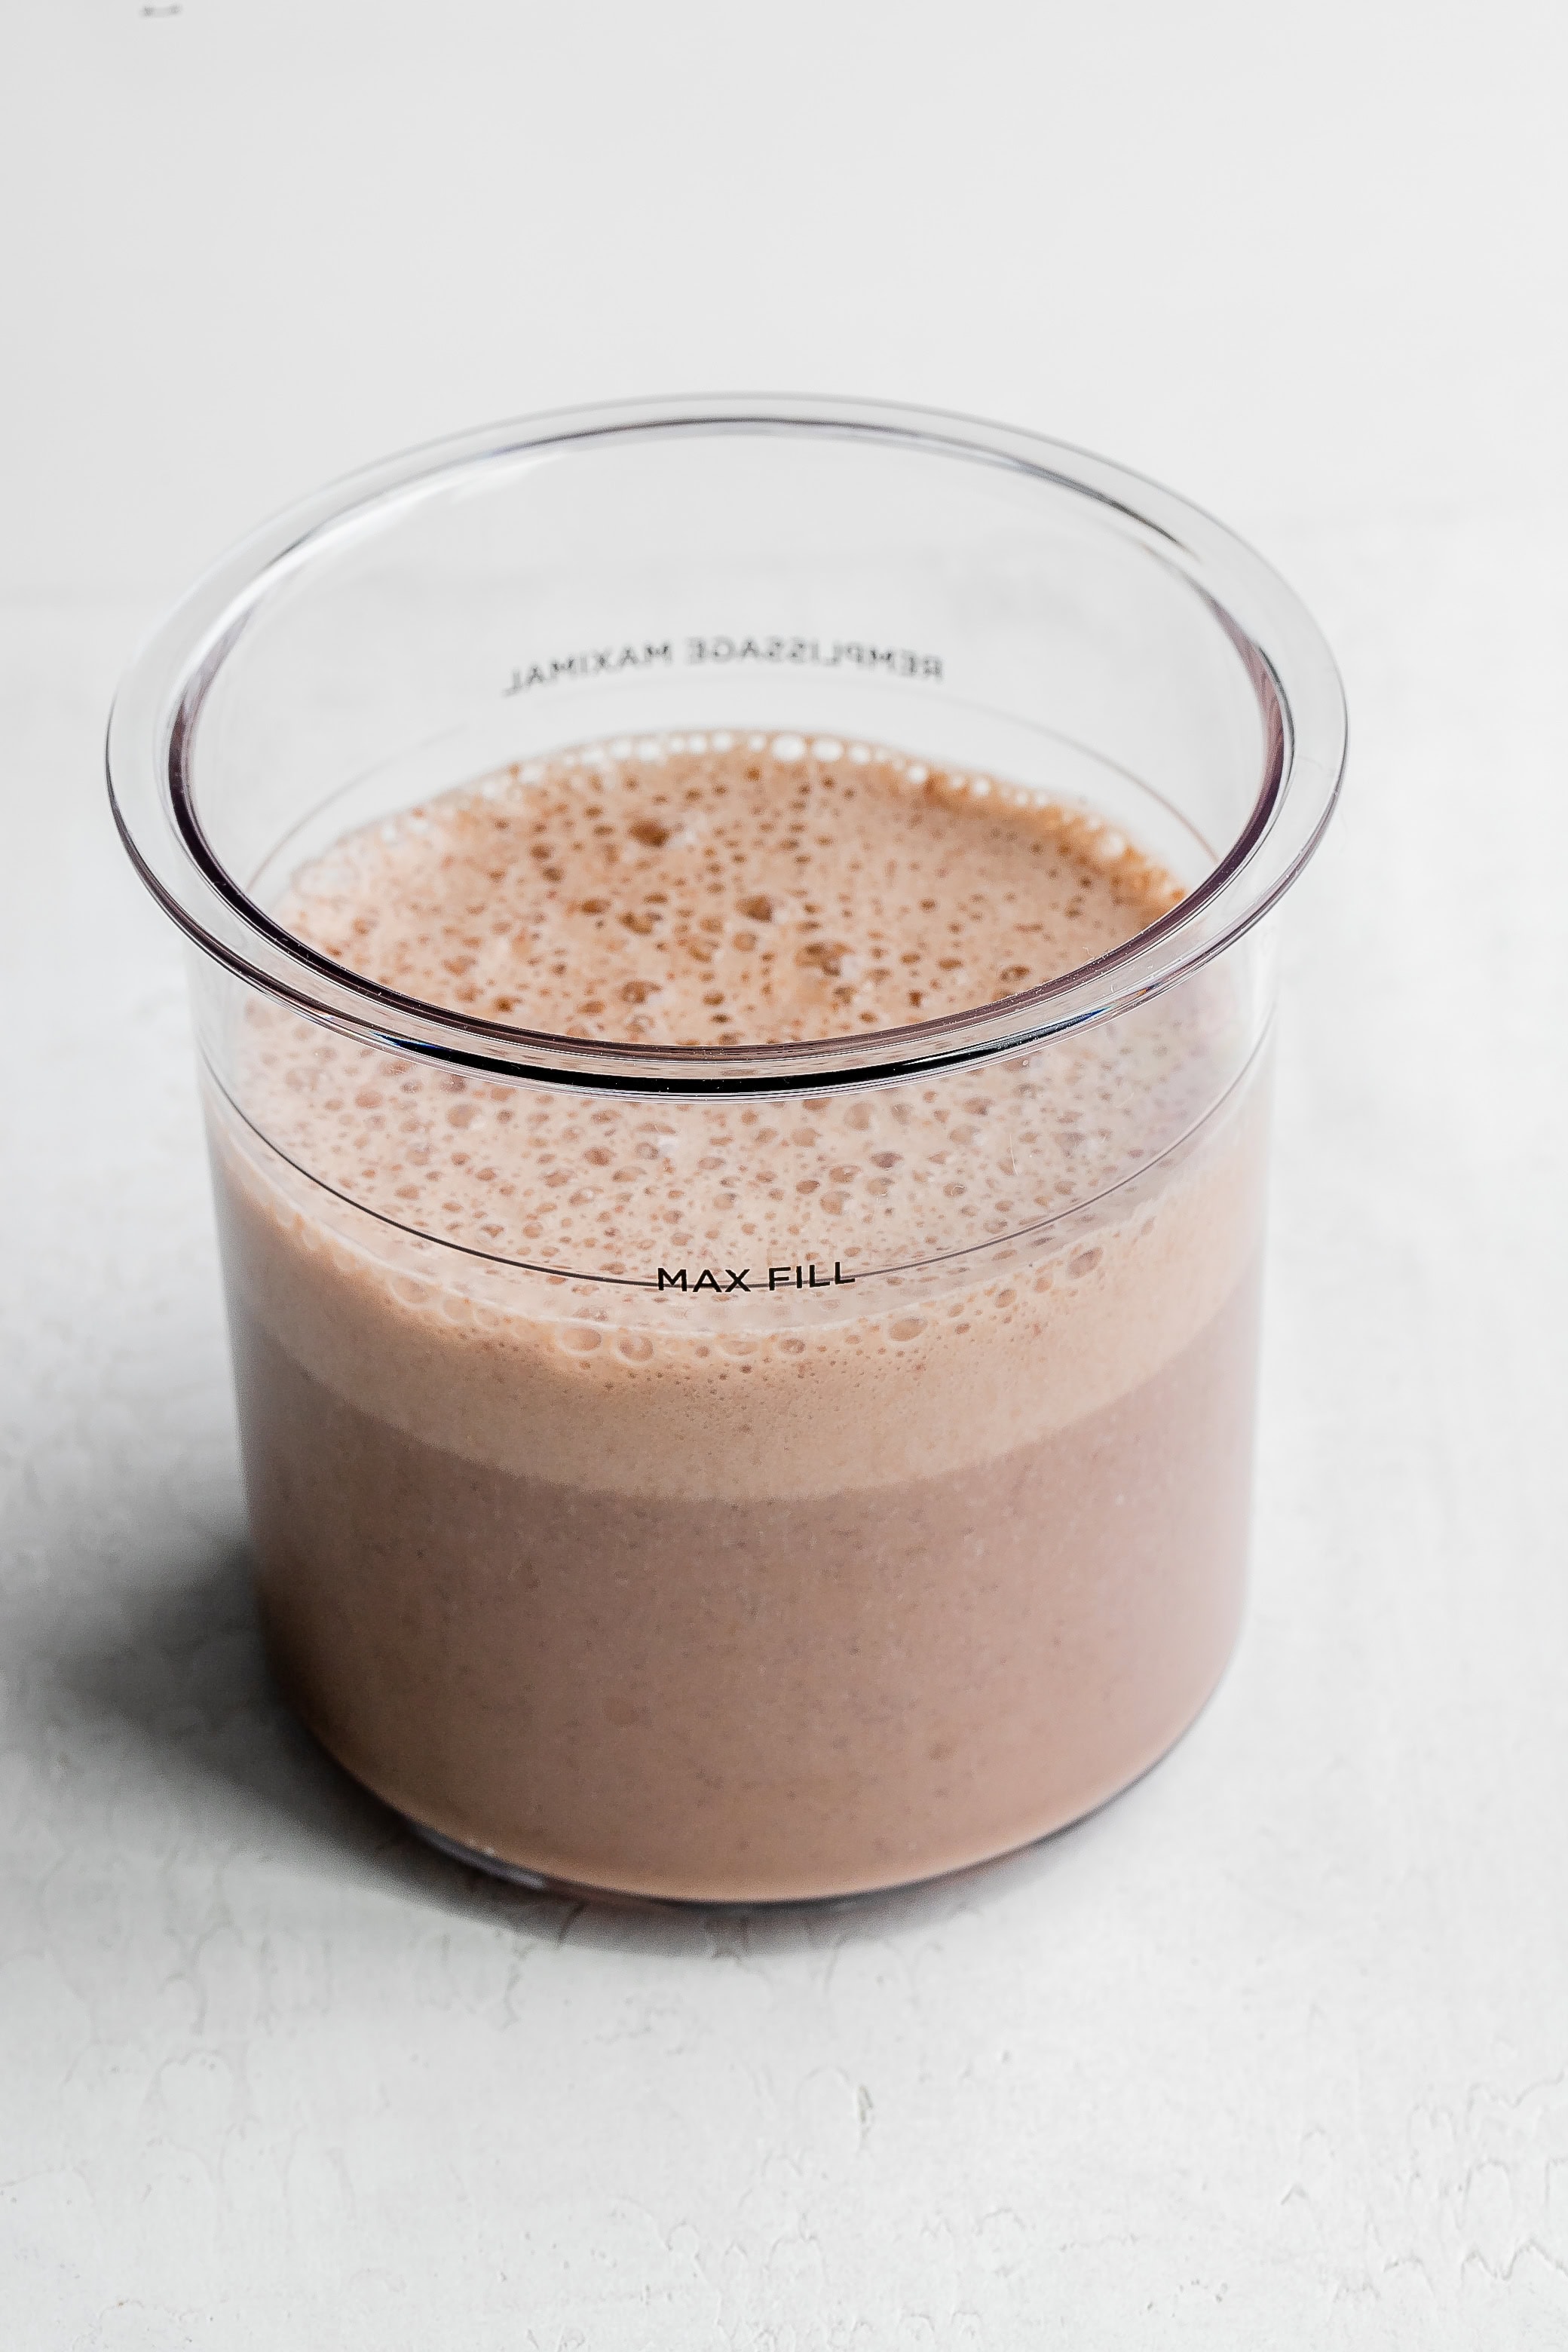
Combine the 1 1/2 cups of milk, pudding mix, vanilla and sugar in a tall standing jar and use a whisk to thoroughly combine. I like using my immersion blender with the whisk attachment.
Transfer to the ninja creami container and place in the freezer for 24 hours.
Remove the container and let stand at room temperature for about ten minutes.
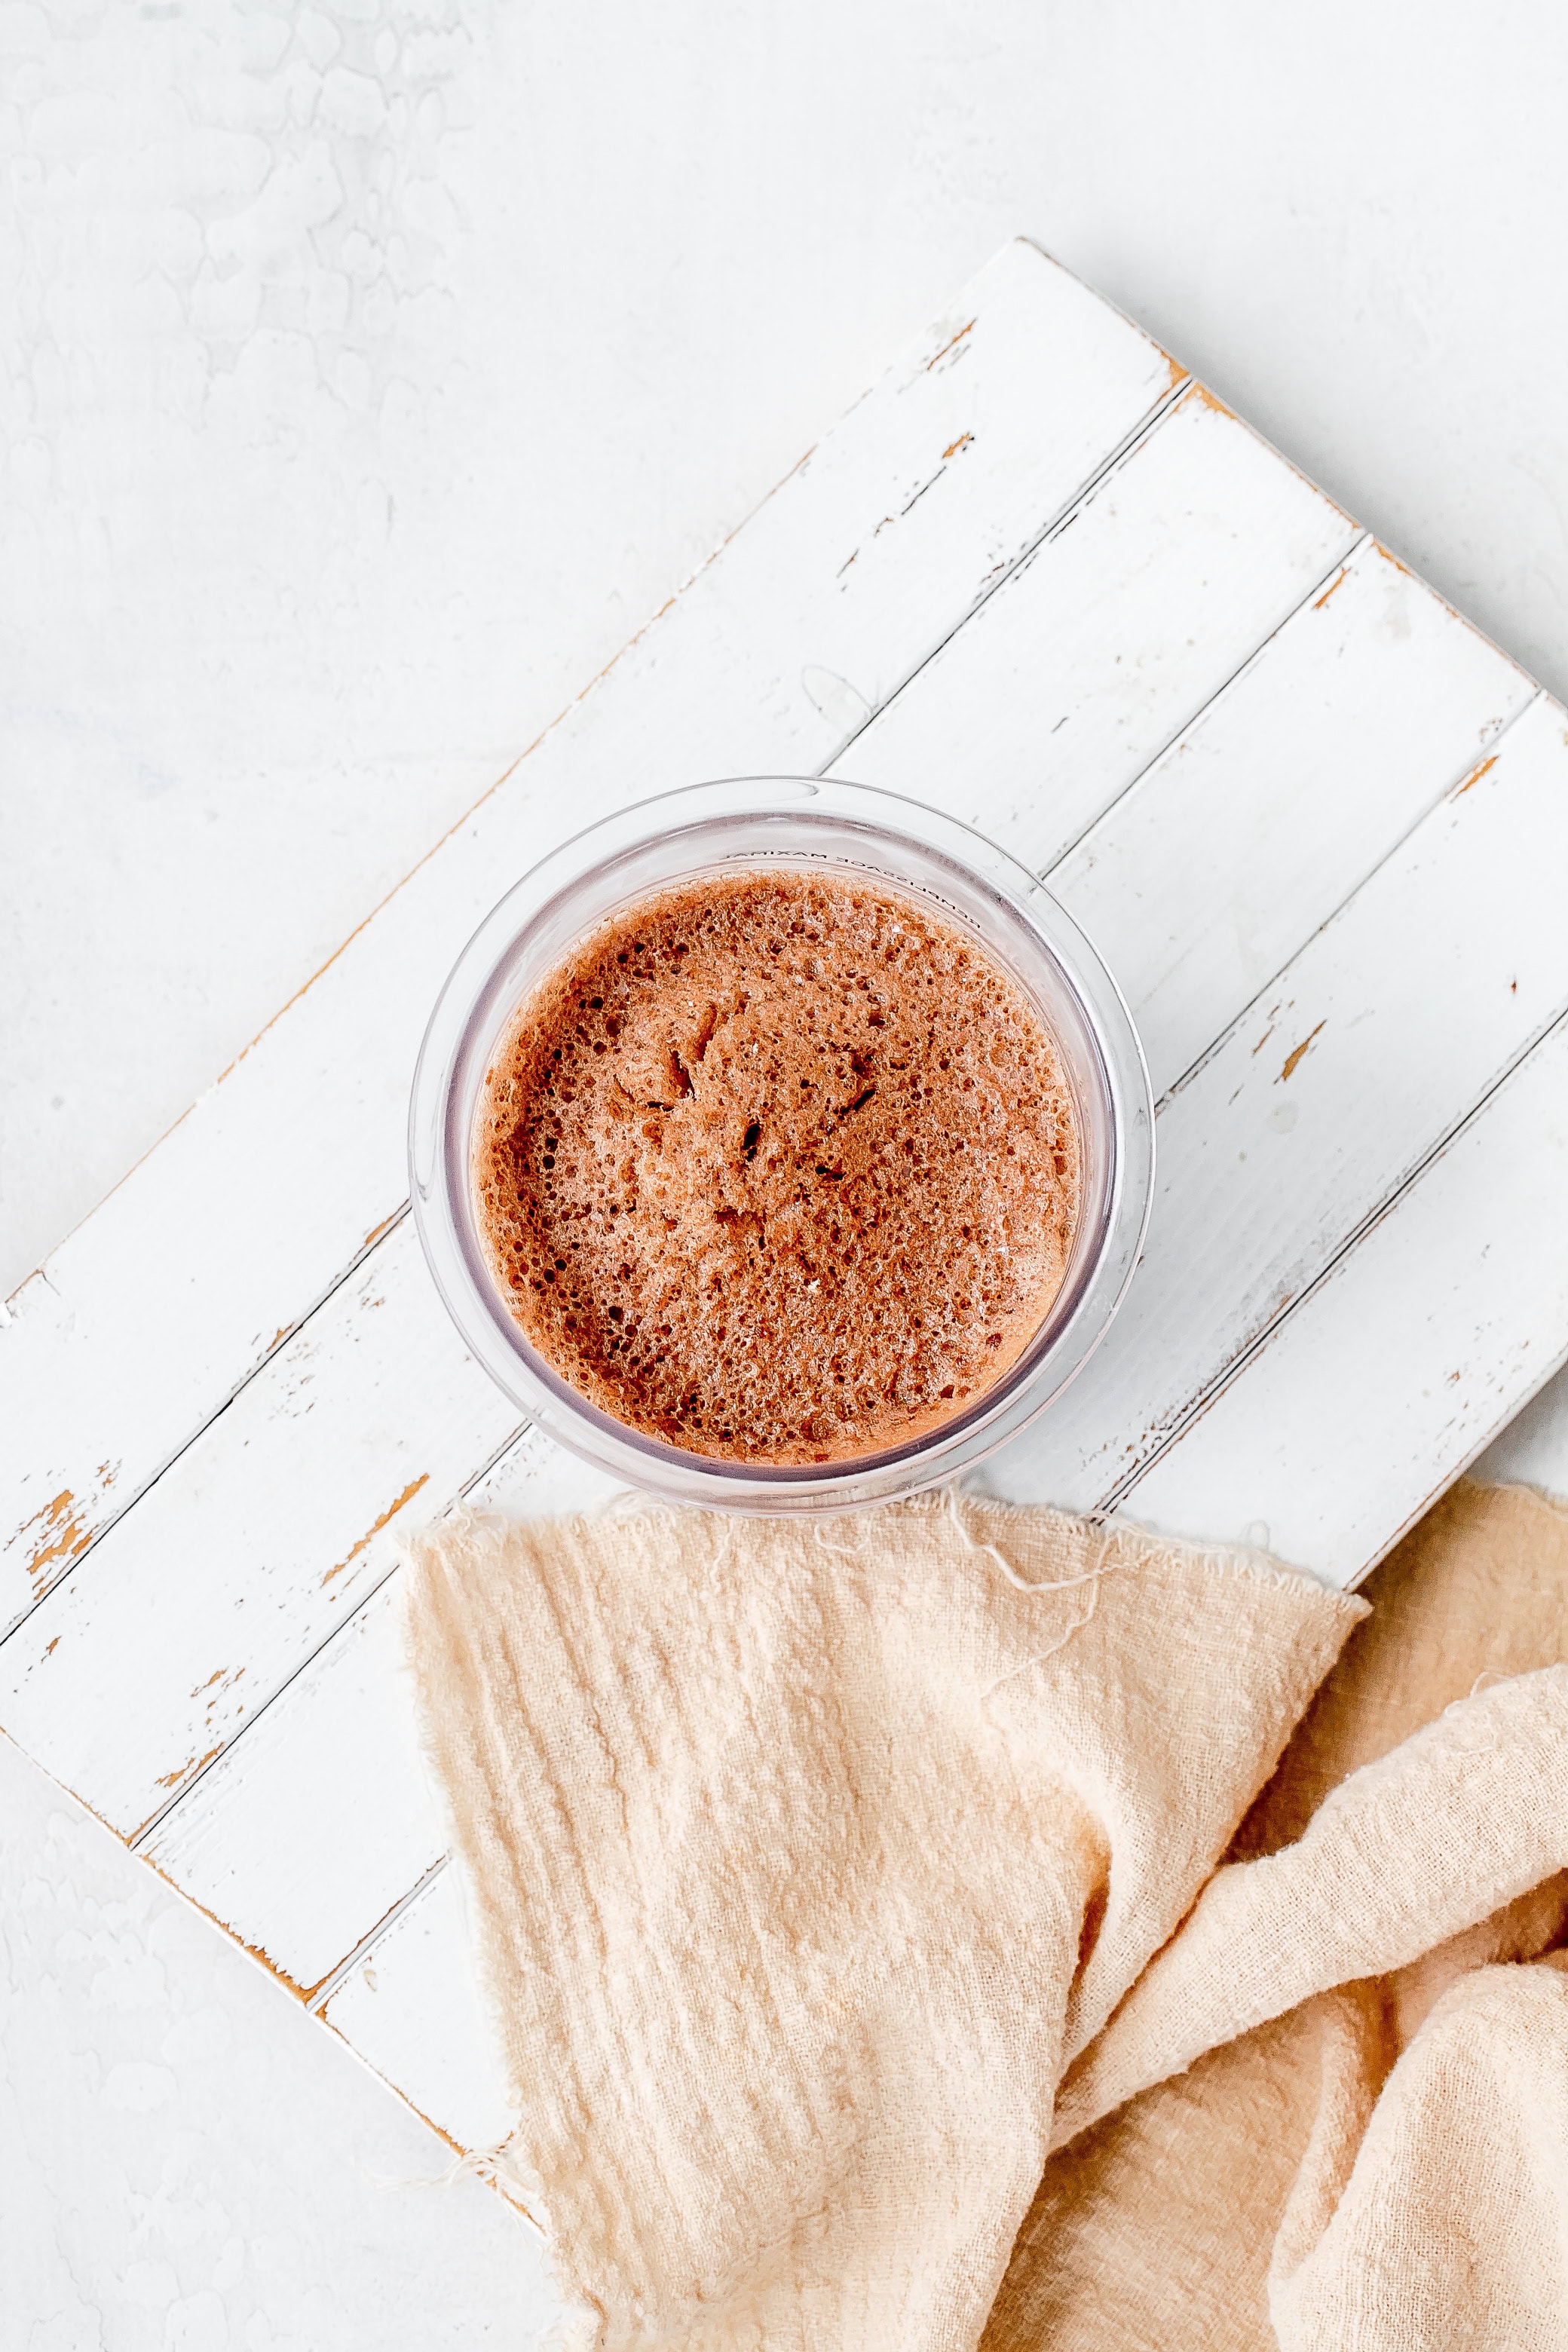
Insert the container in the ninja creami outer bowl, add the lid and lock it into position. Press the lite ice cream setting.
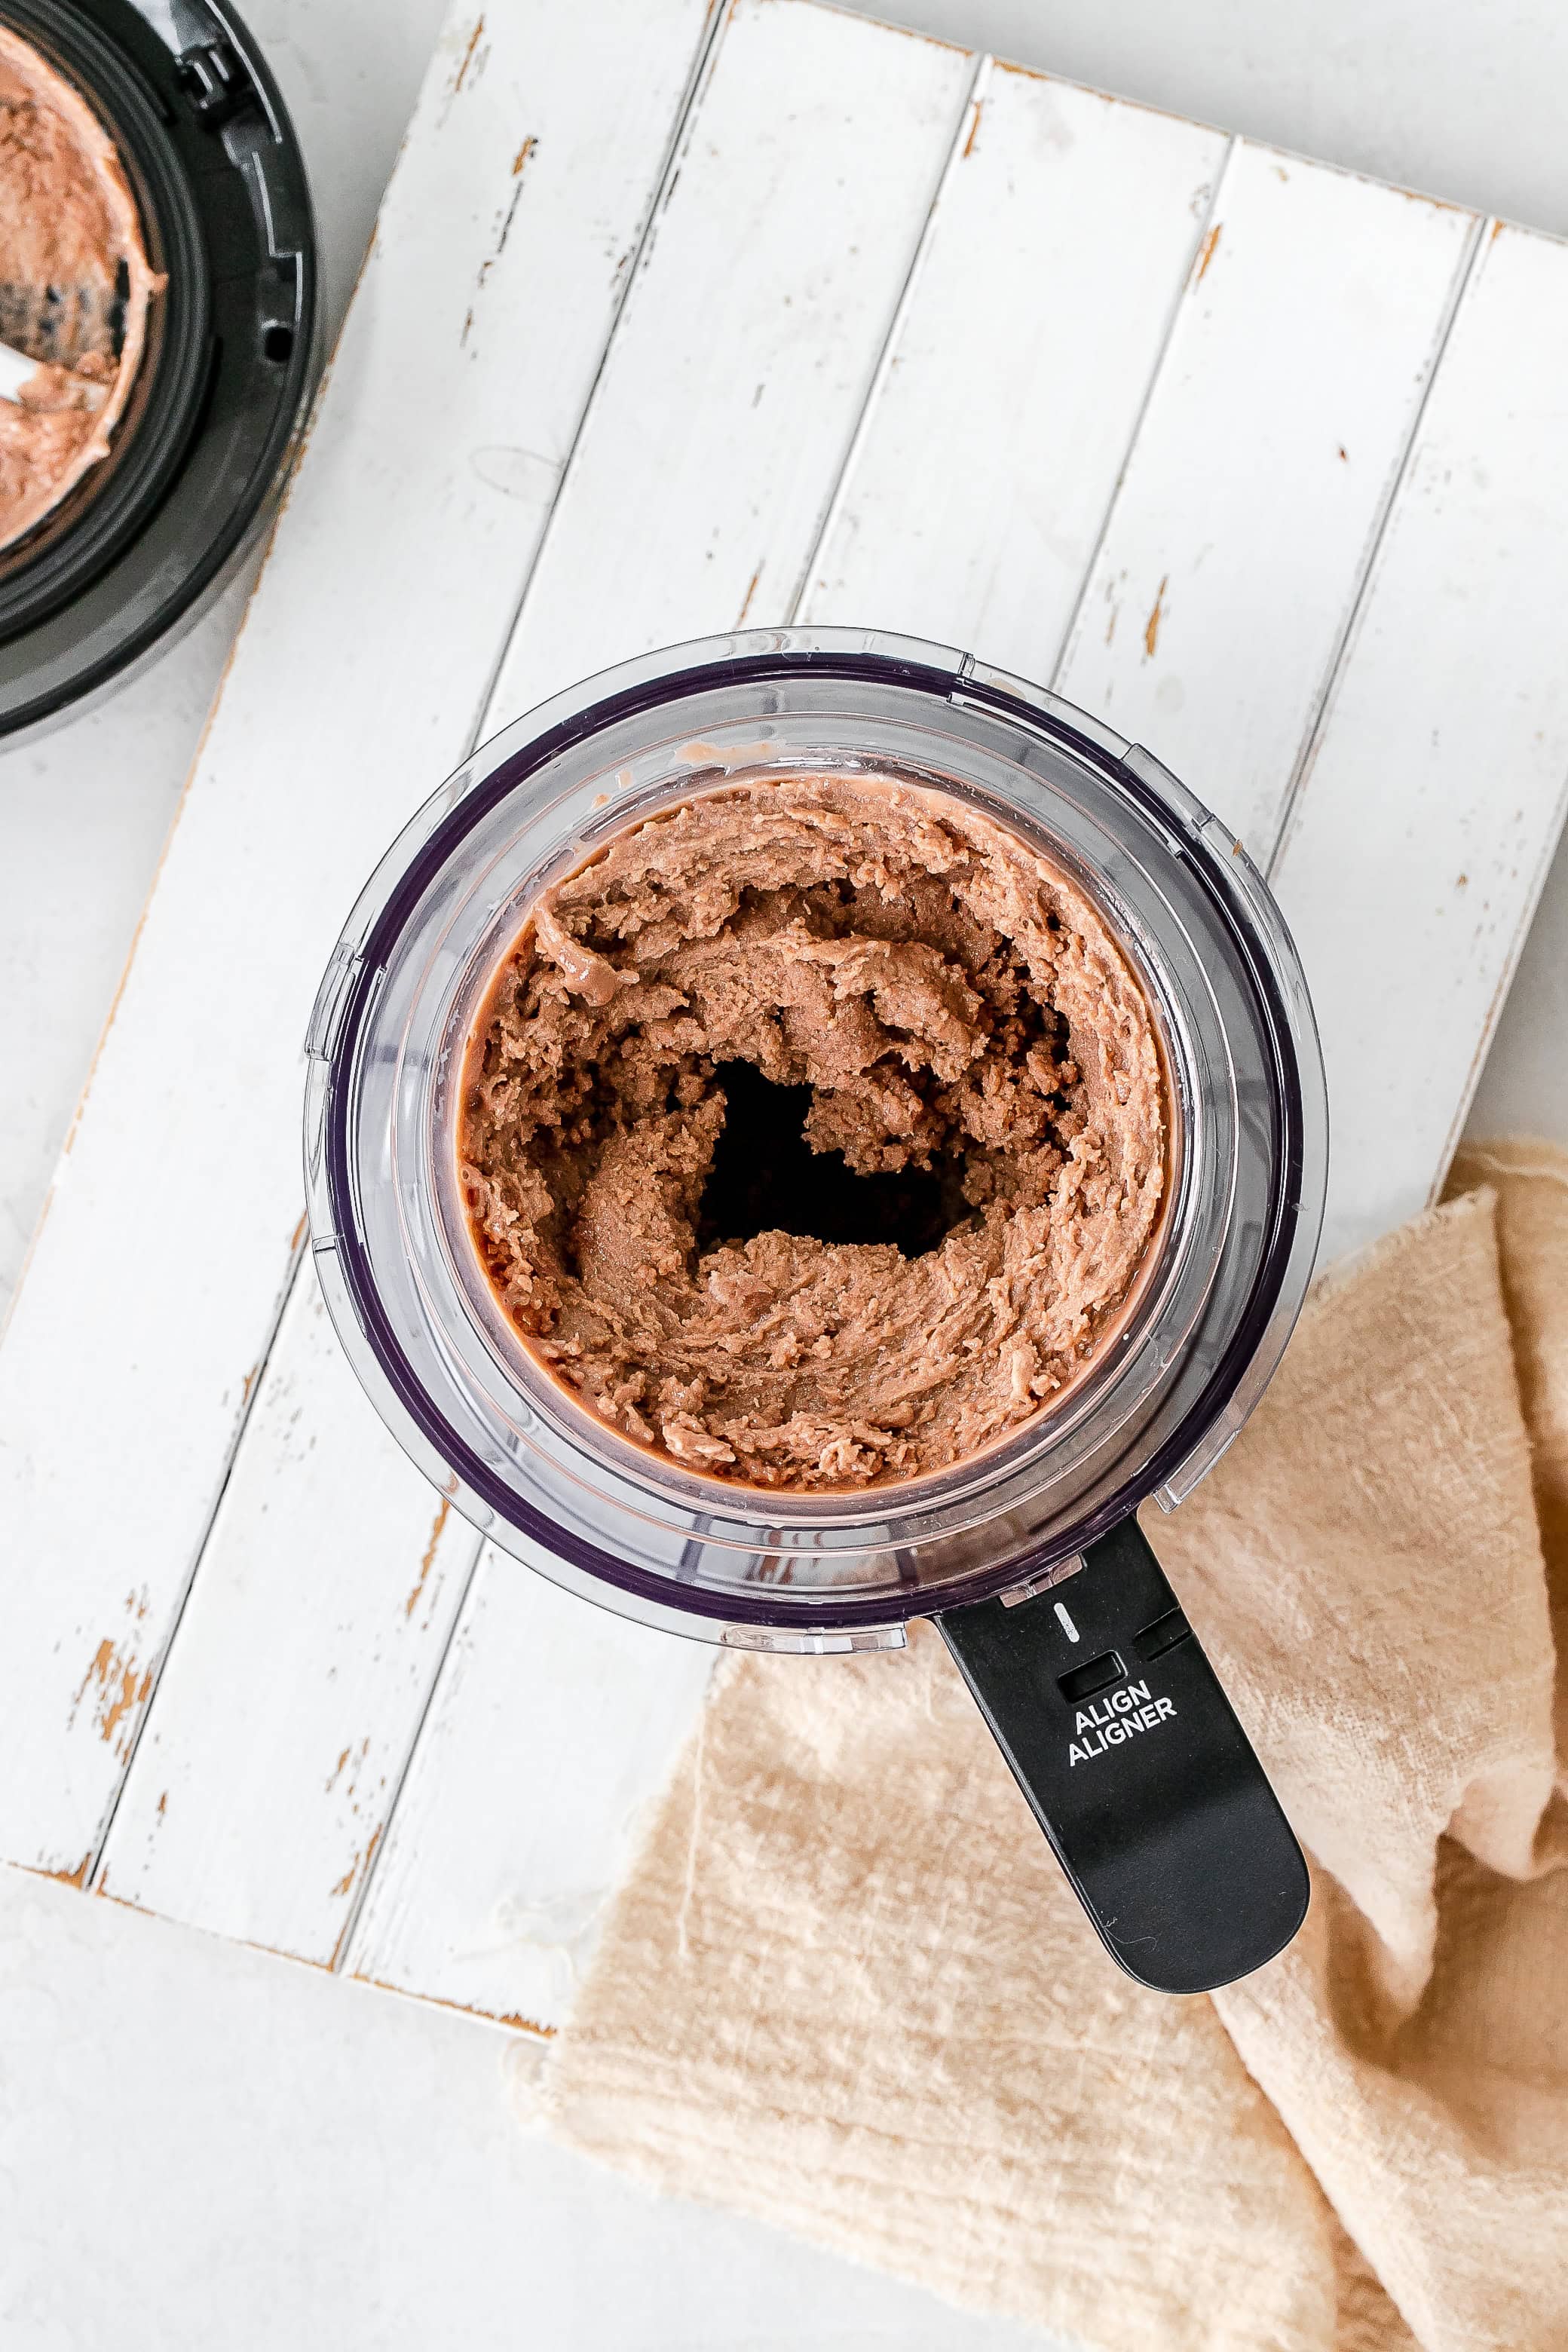
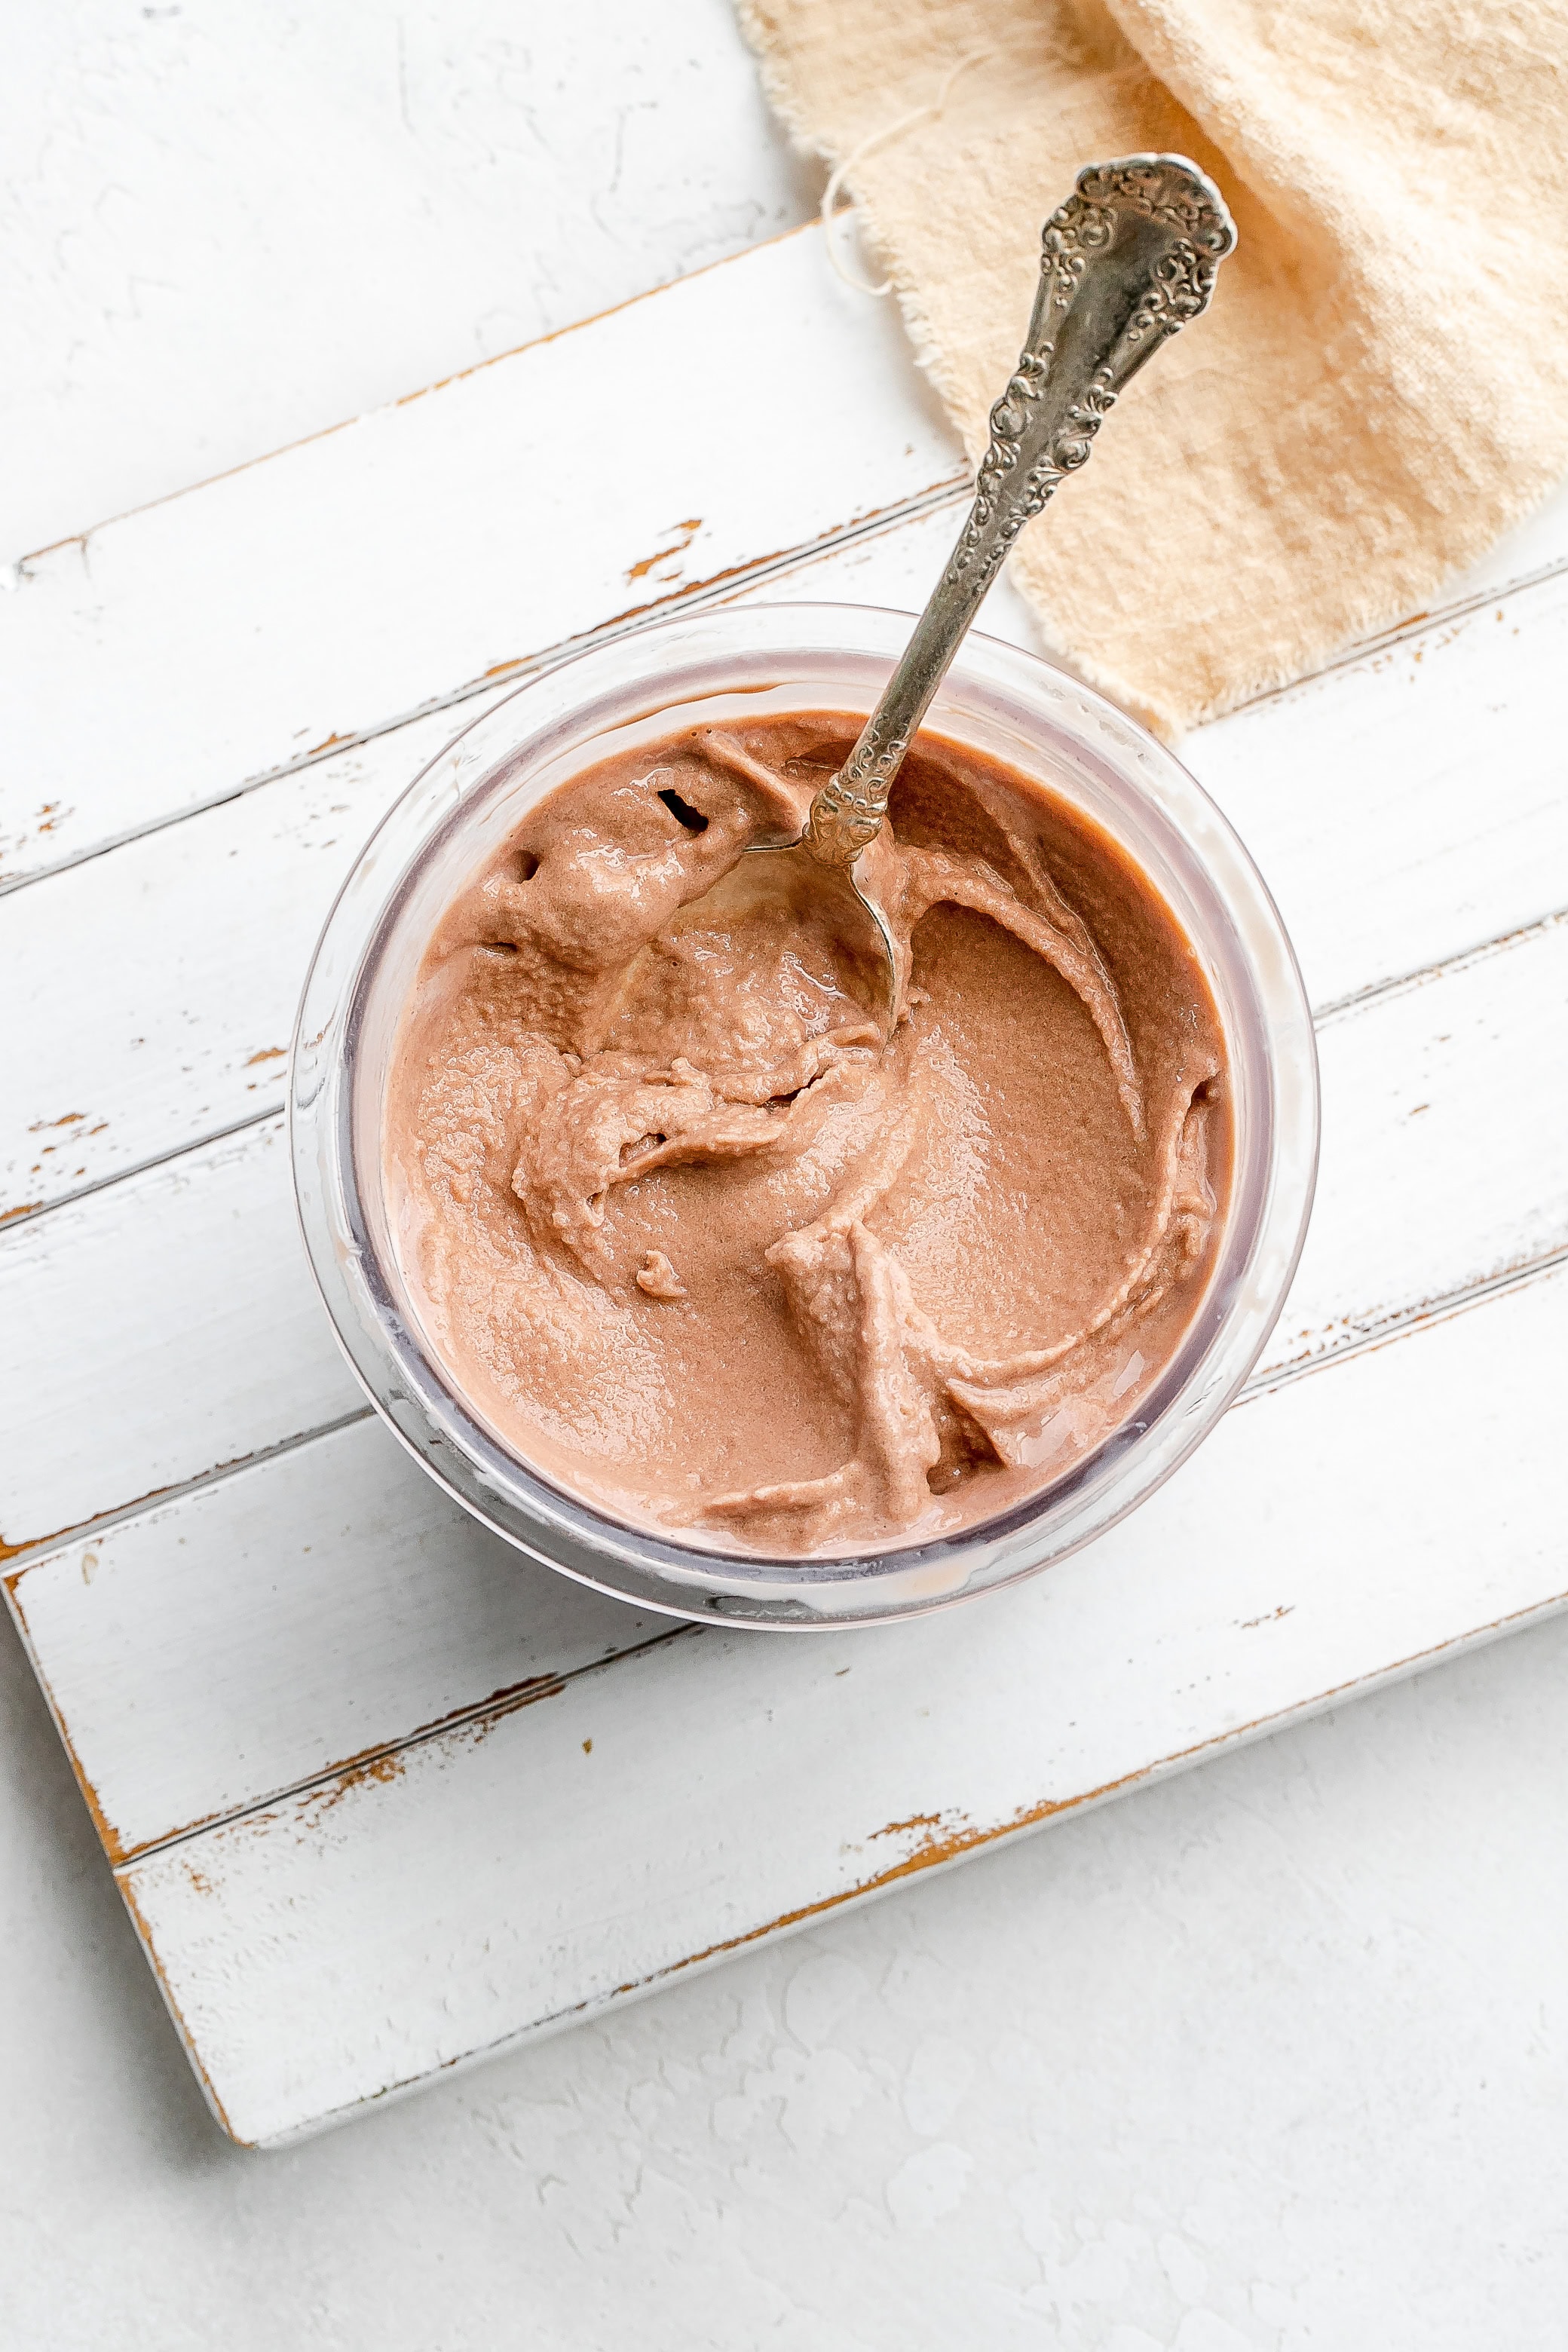
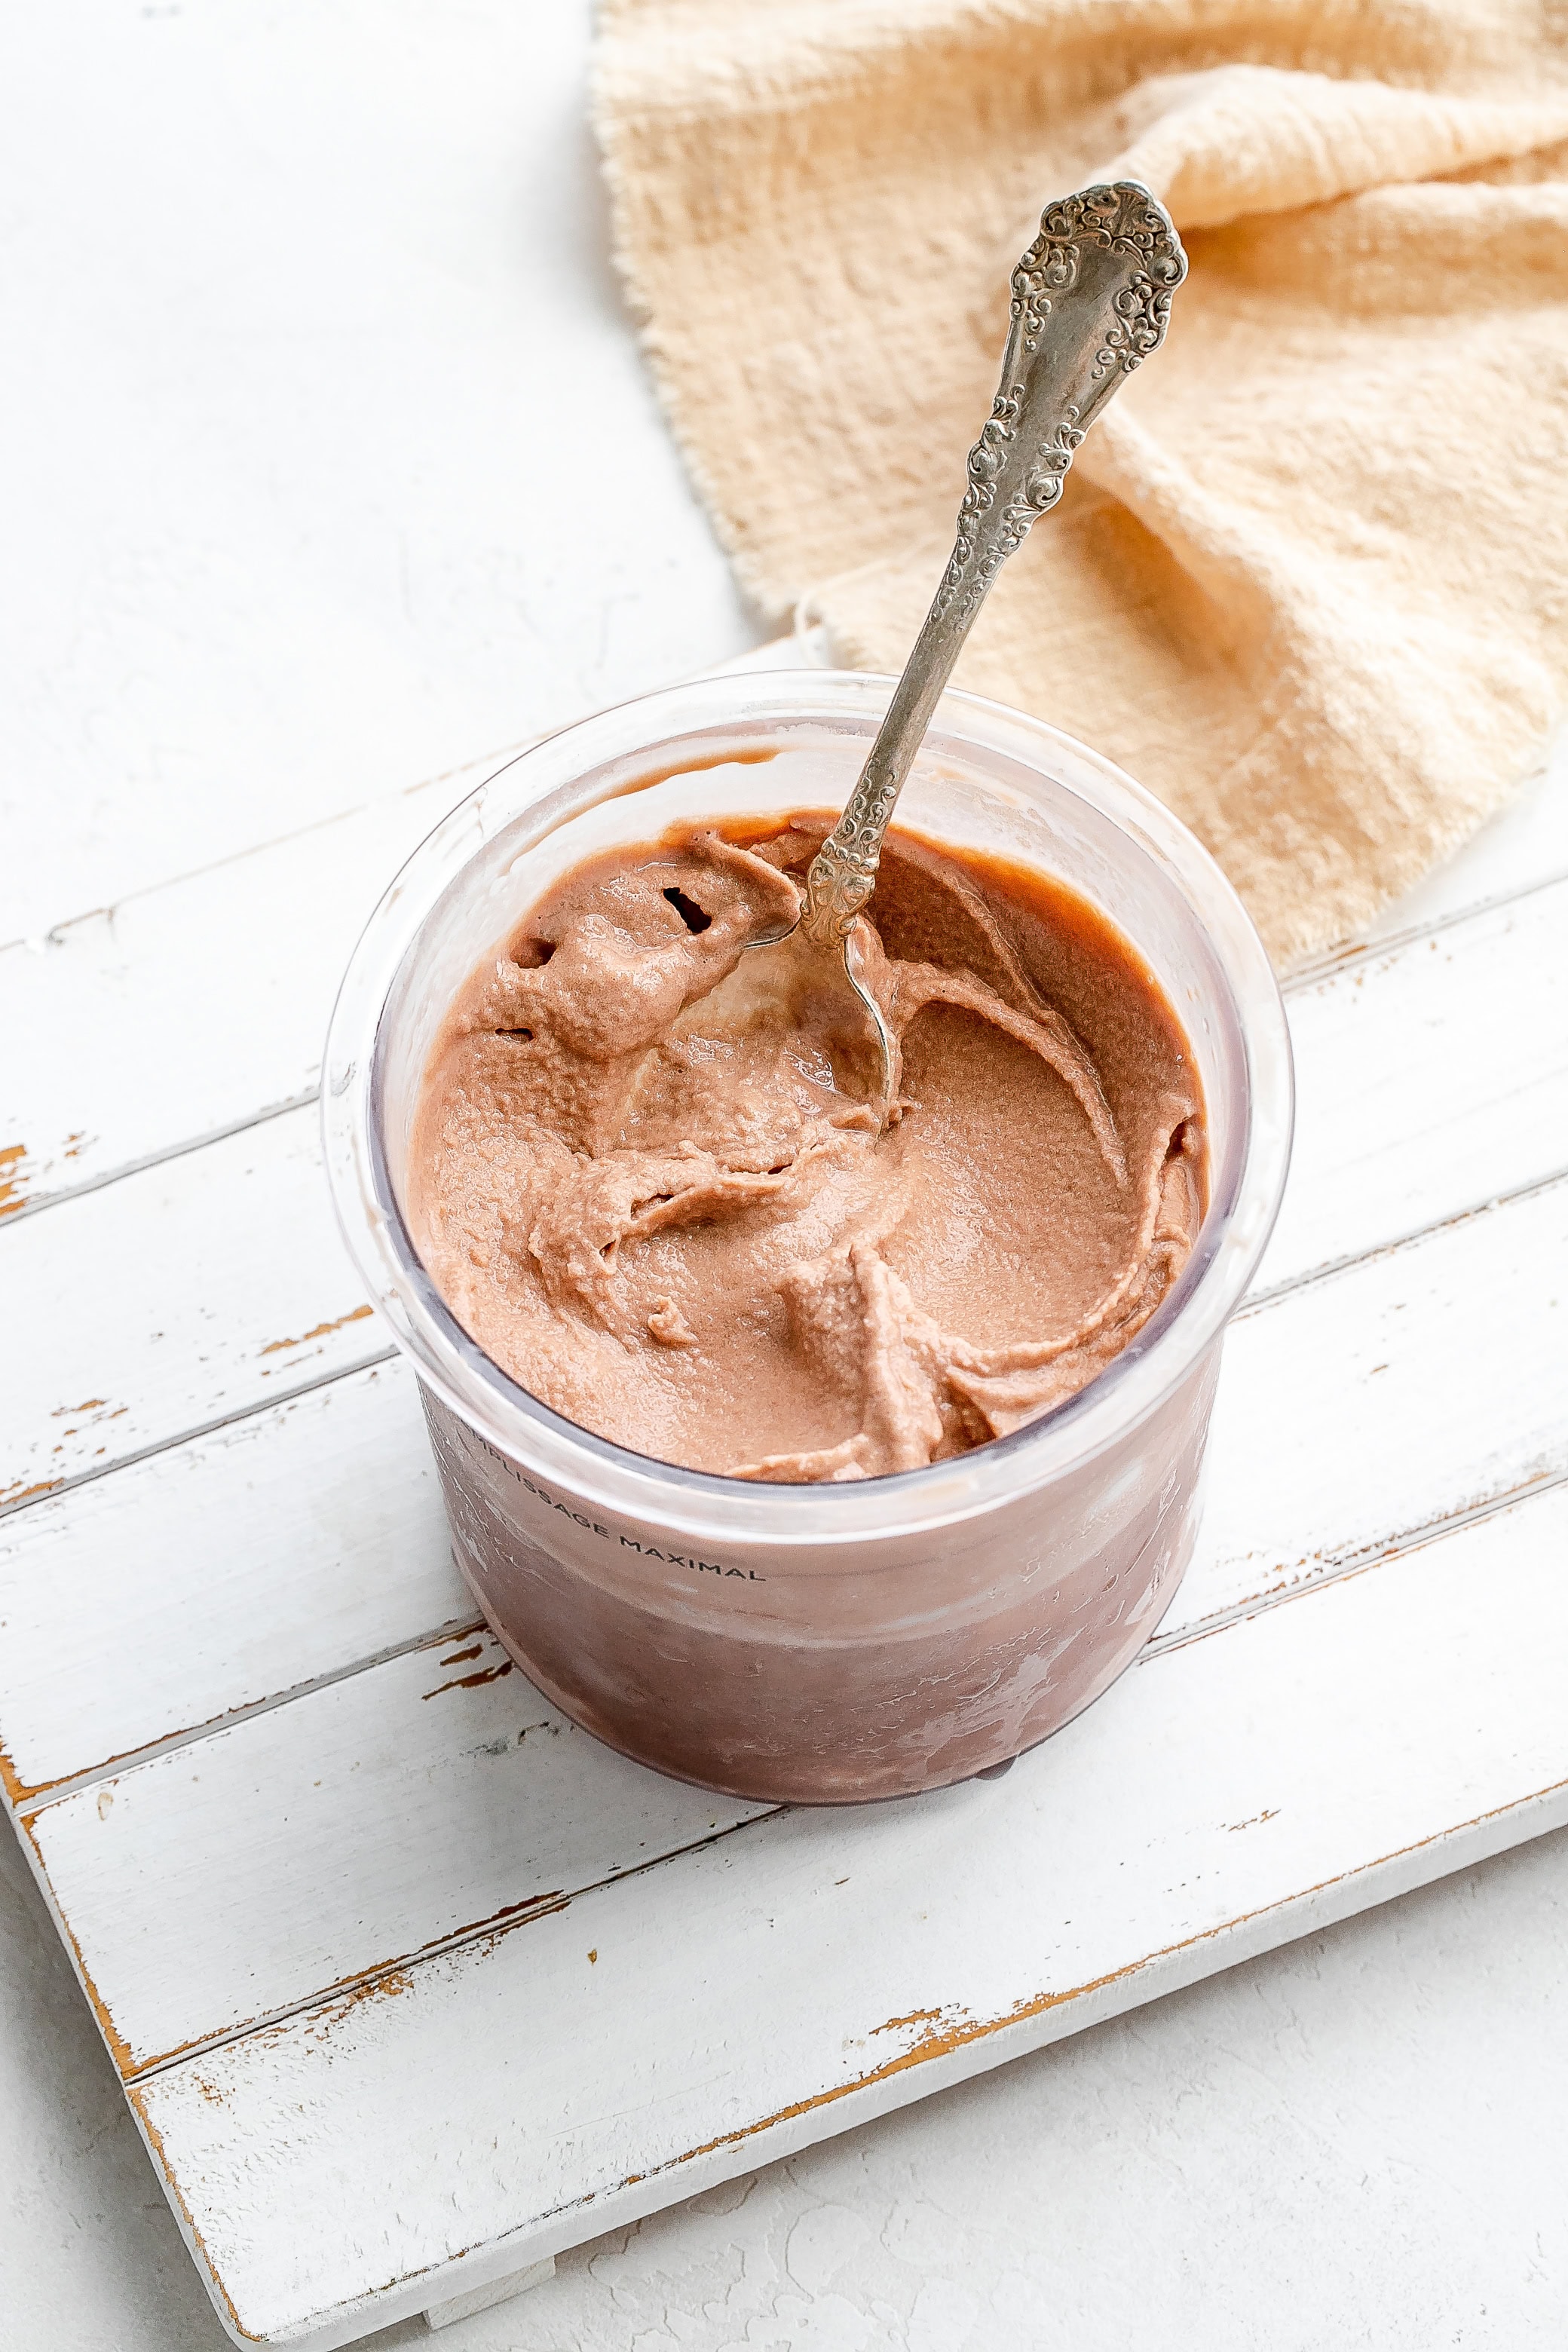
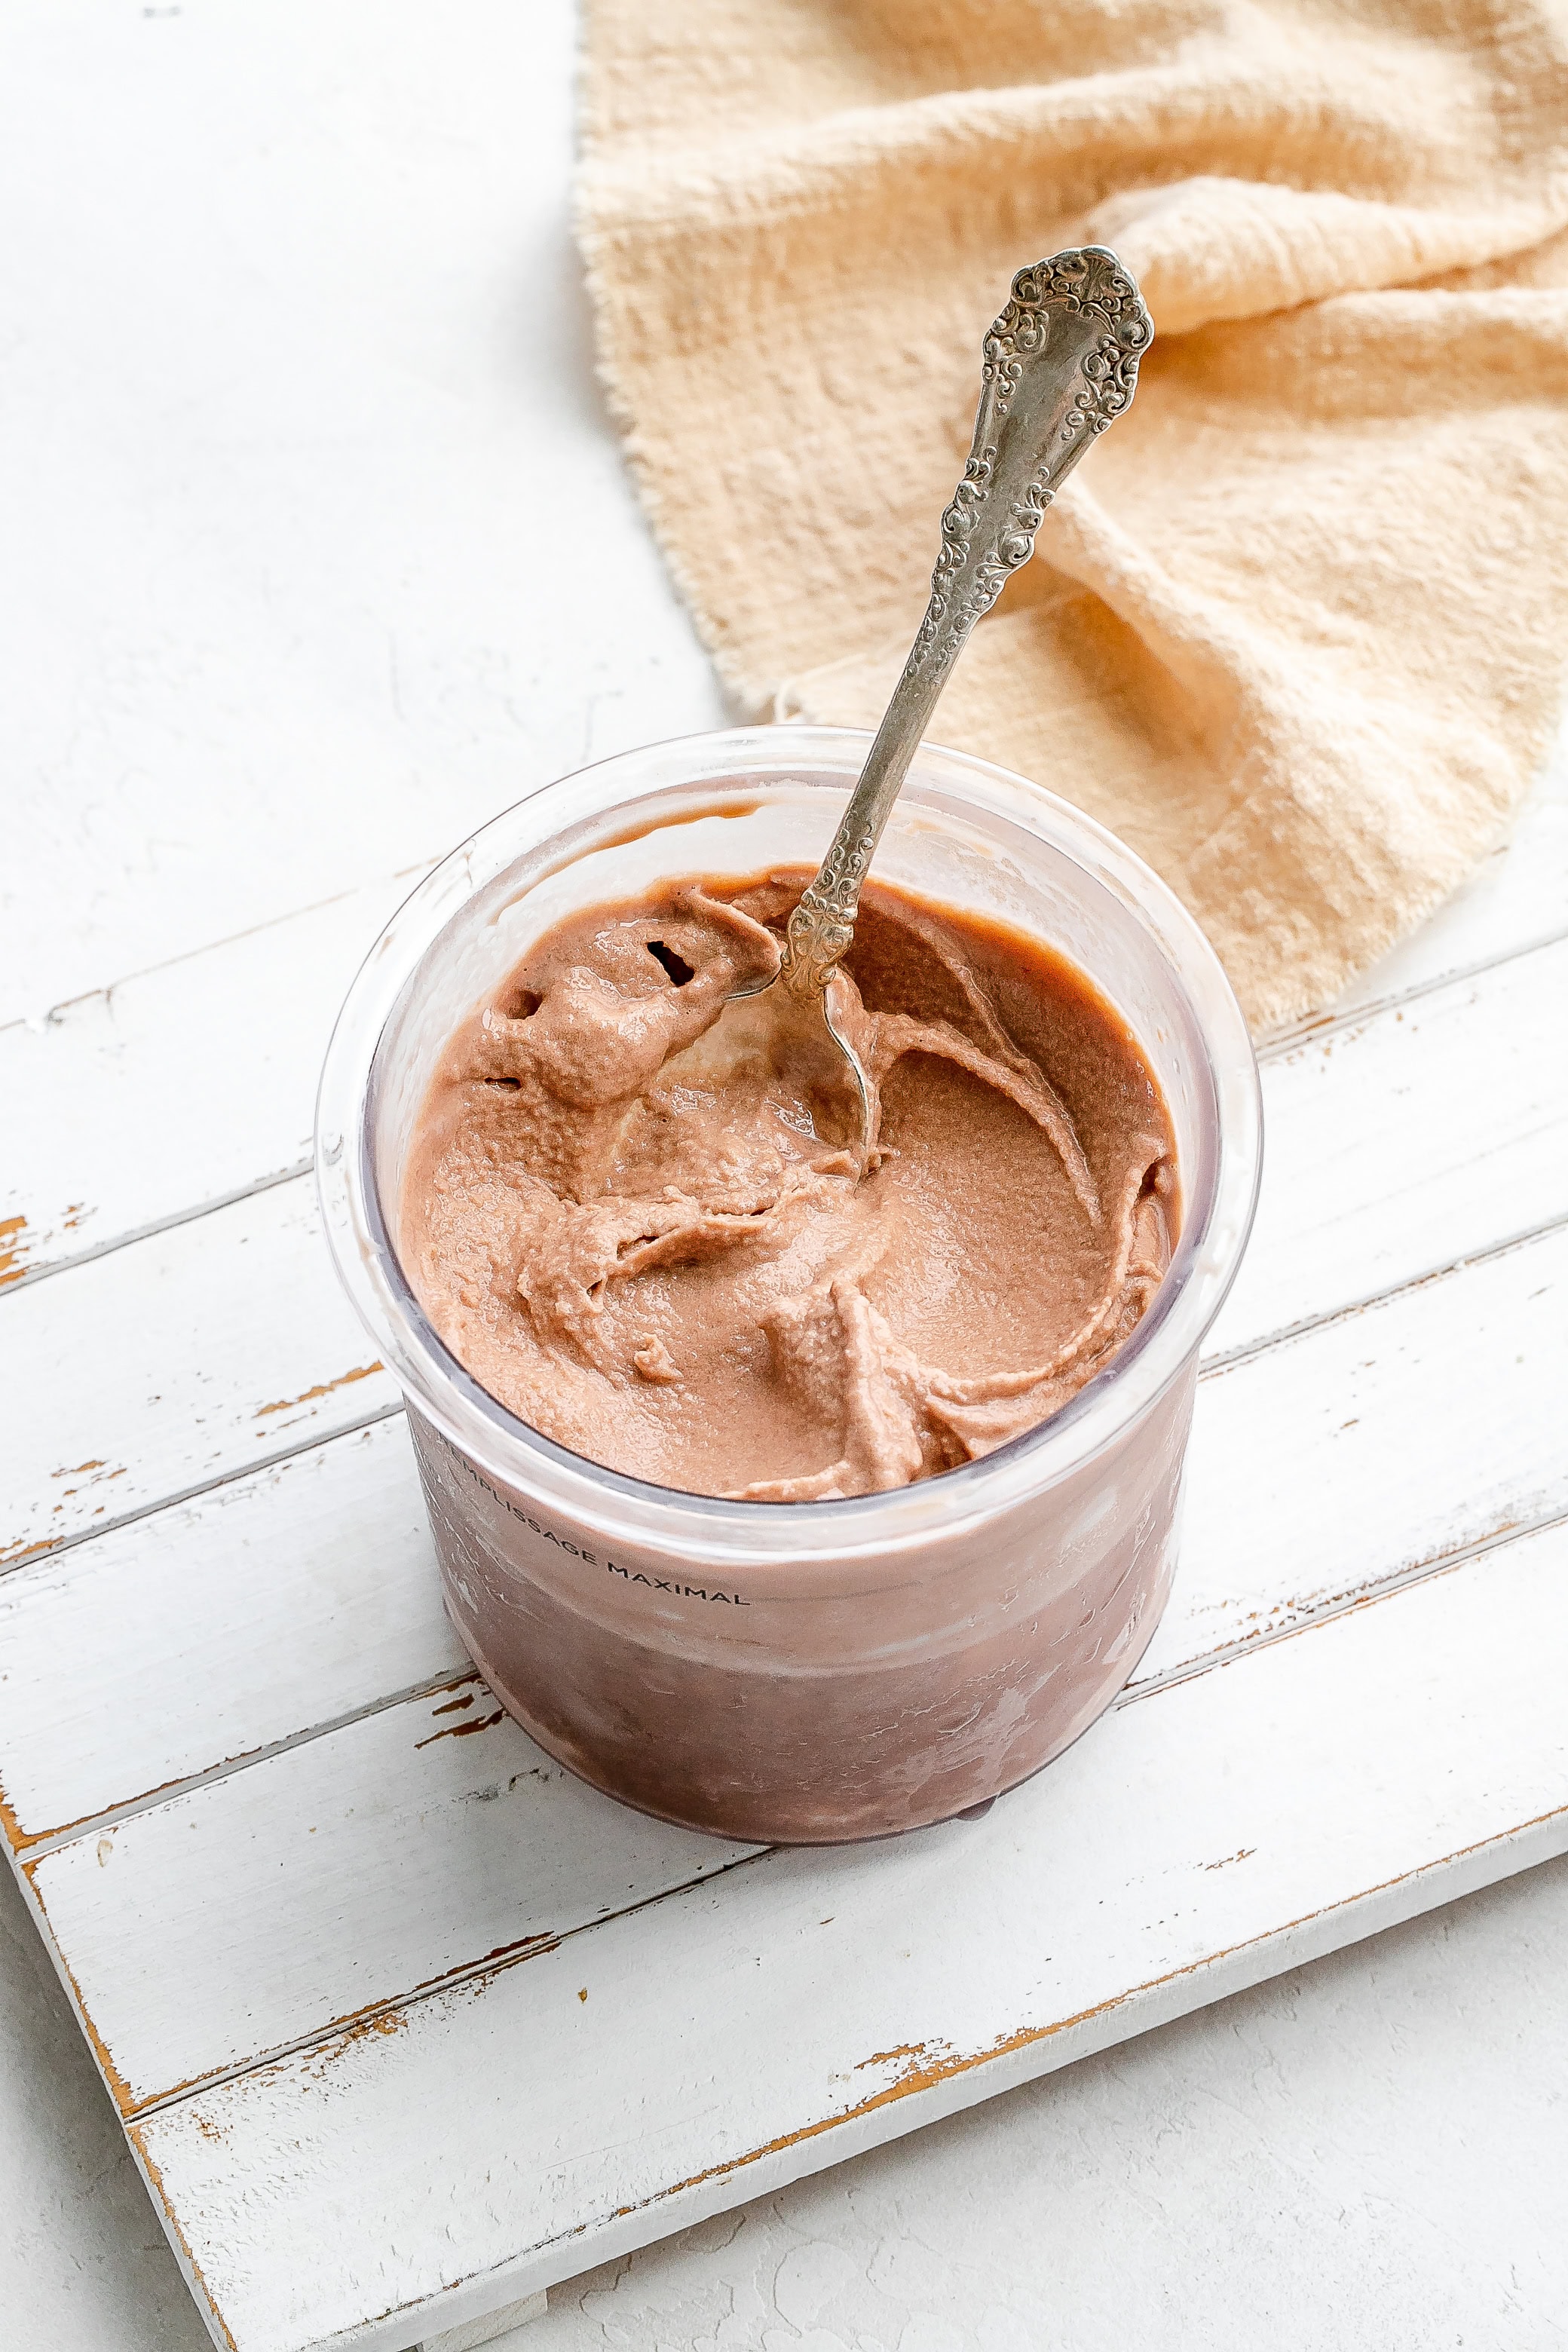
When the ninja creami is done, remove the outer bowl and pour in the remaining 1 tsp of chocolate milk in the center. Press the re-spin button.

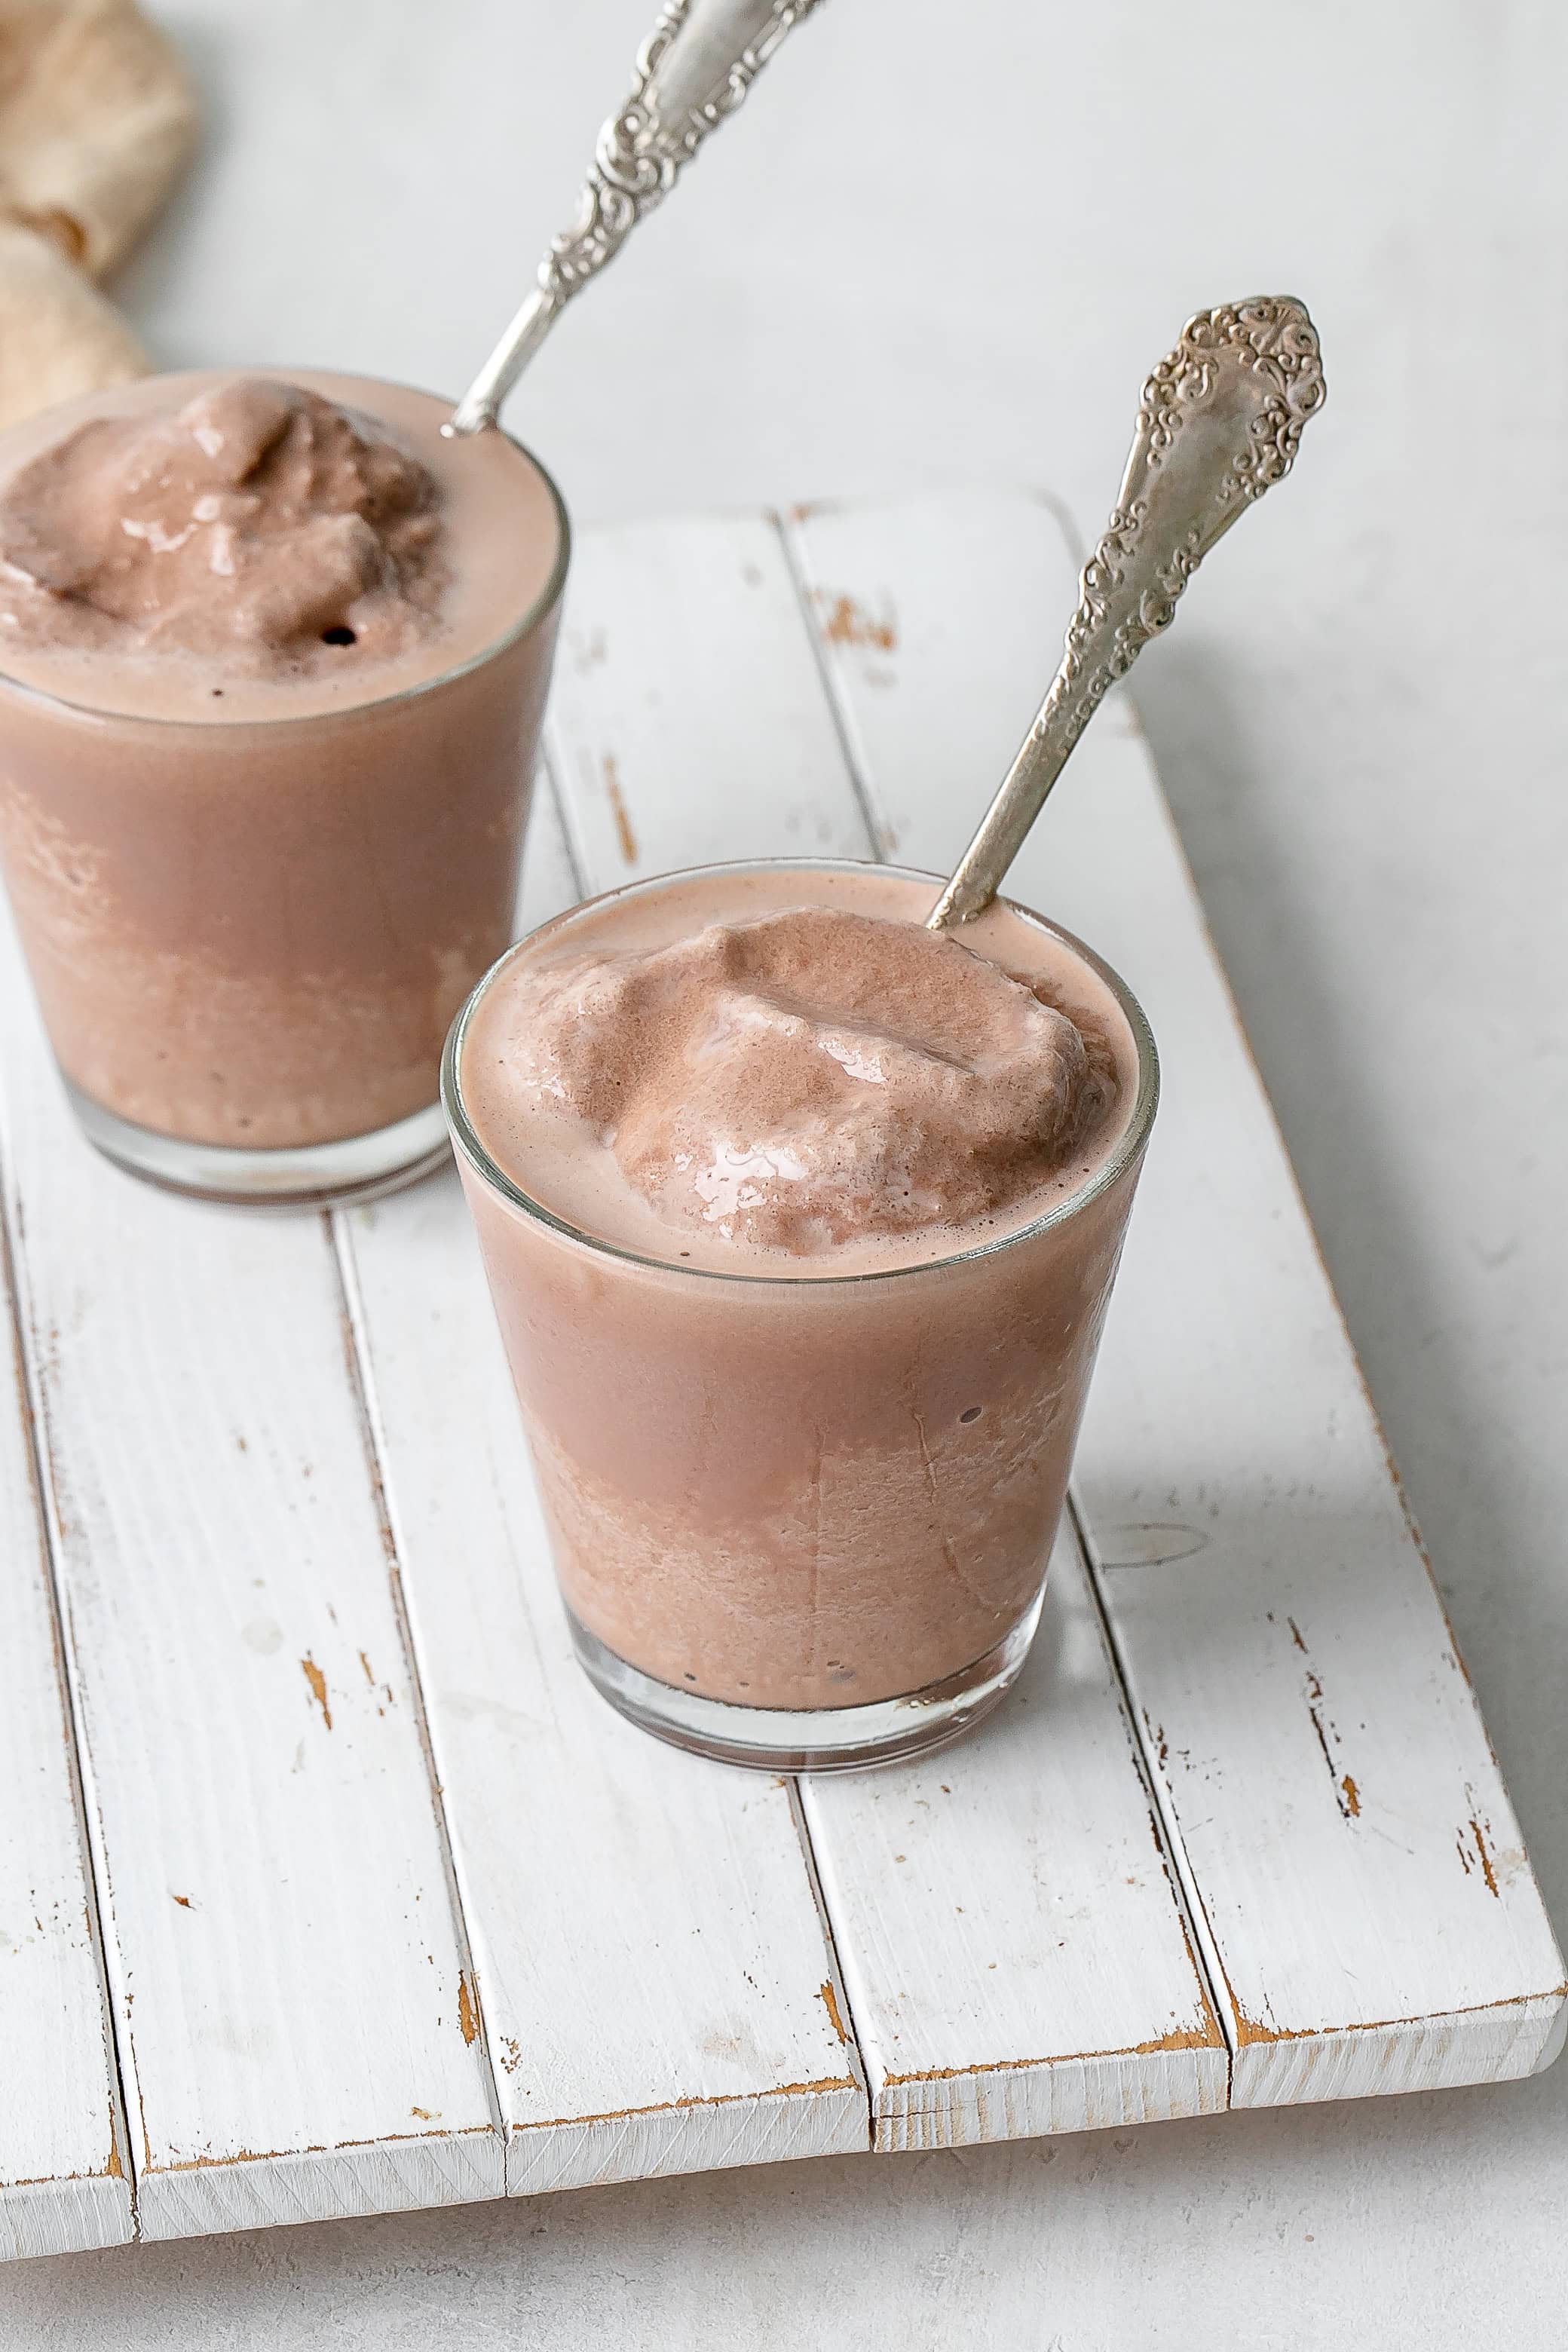
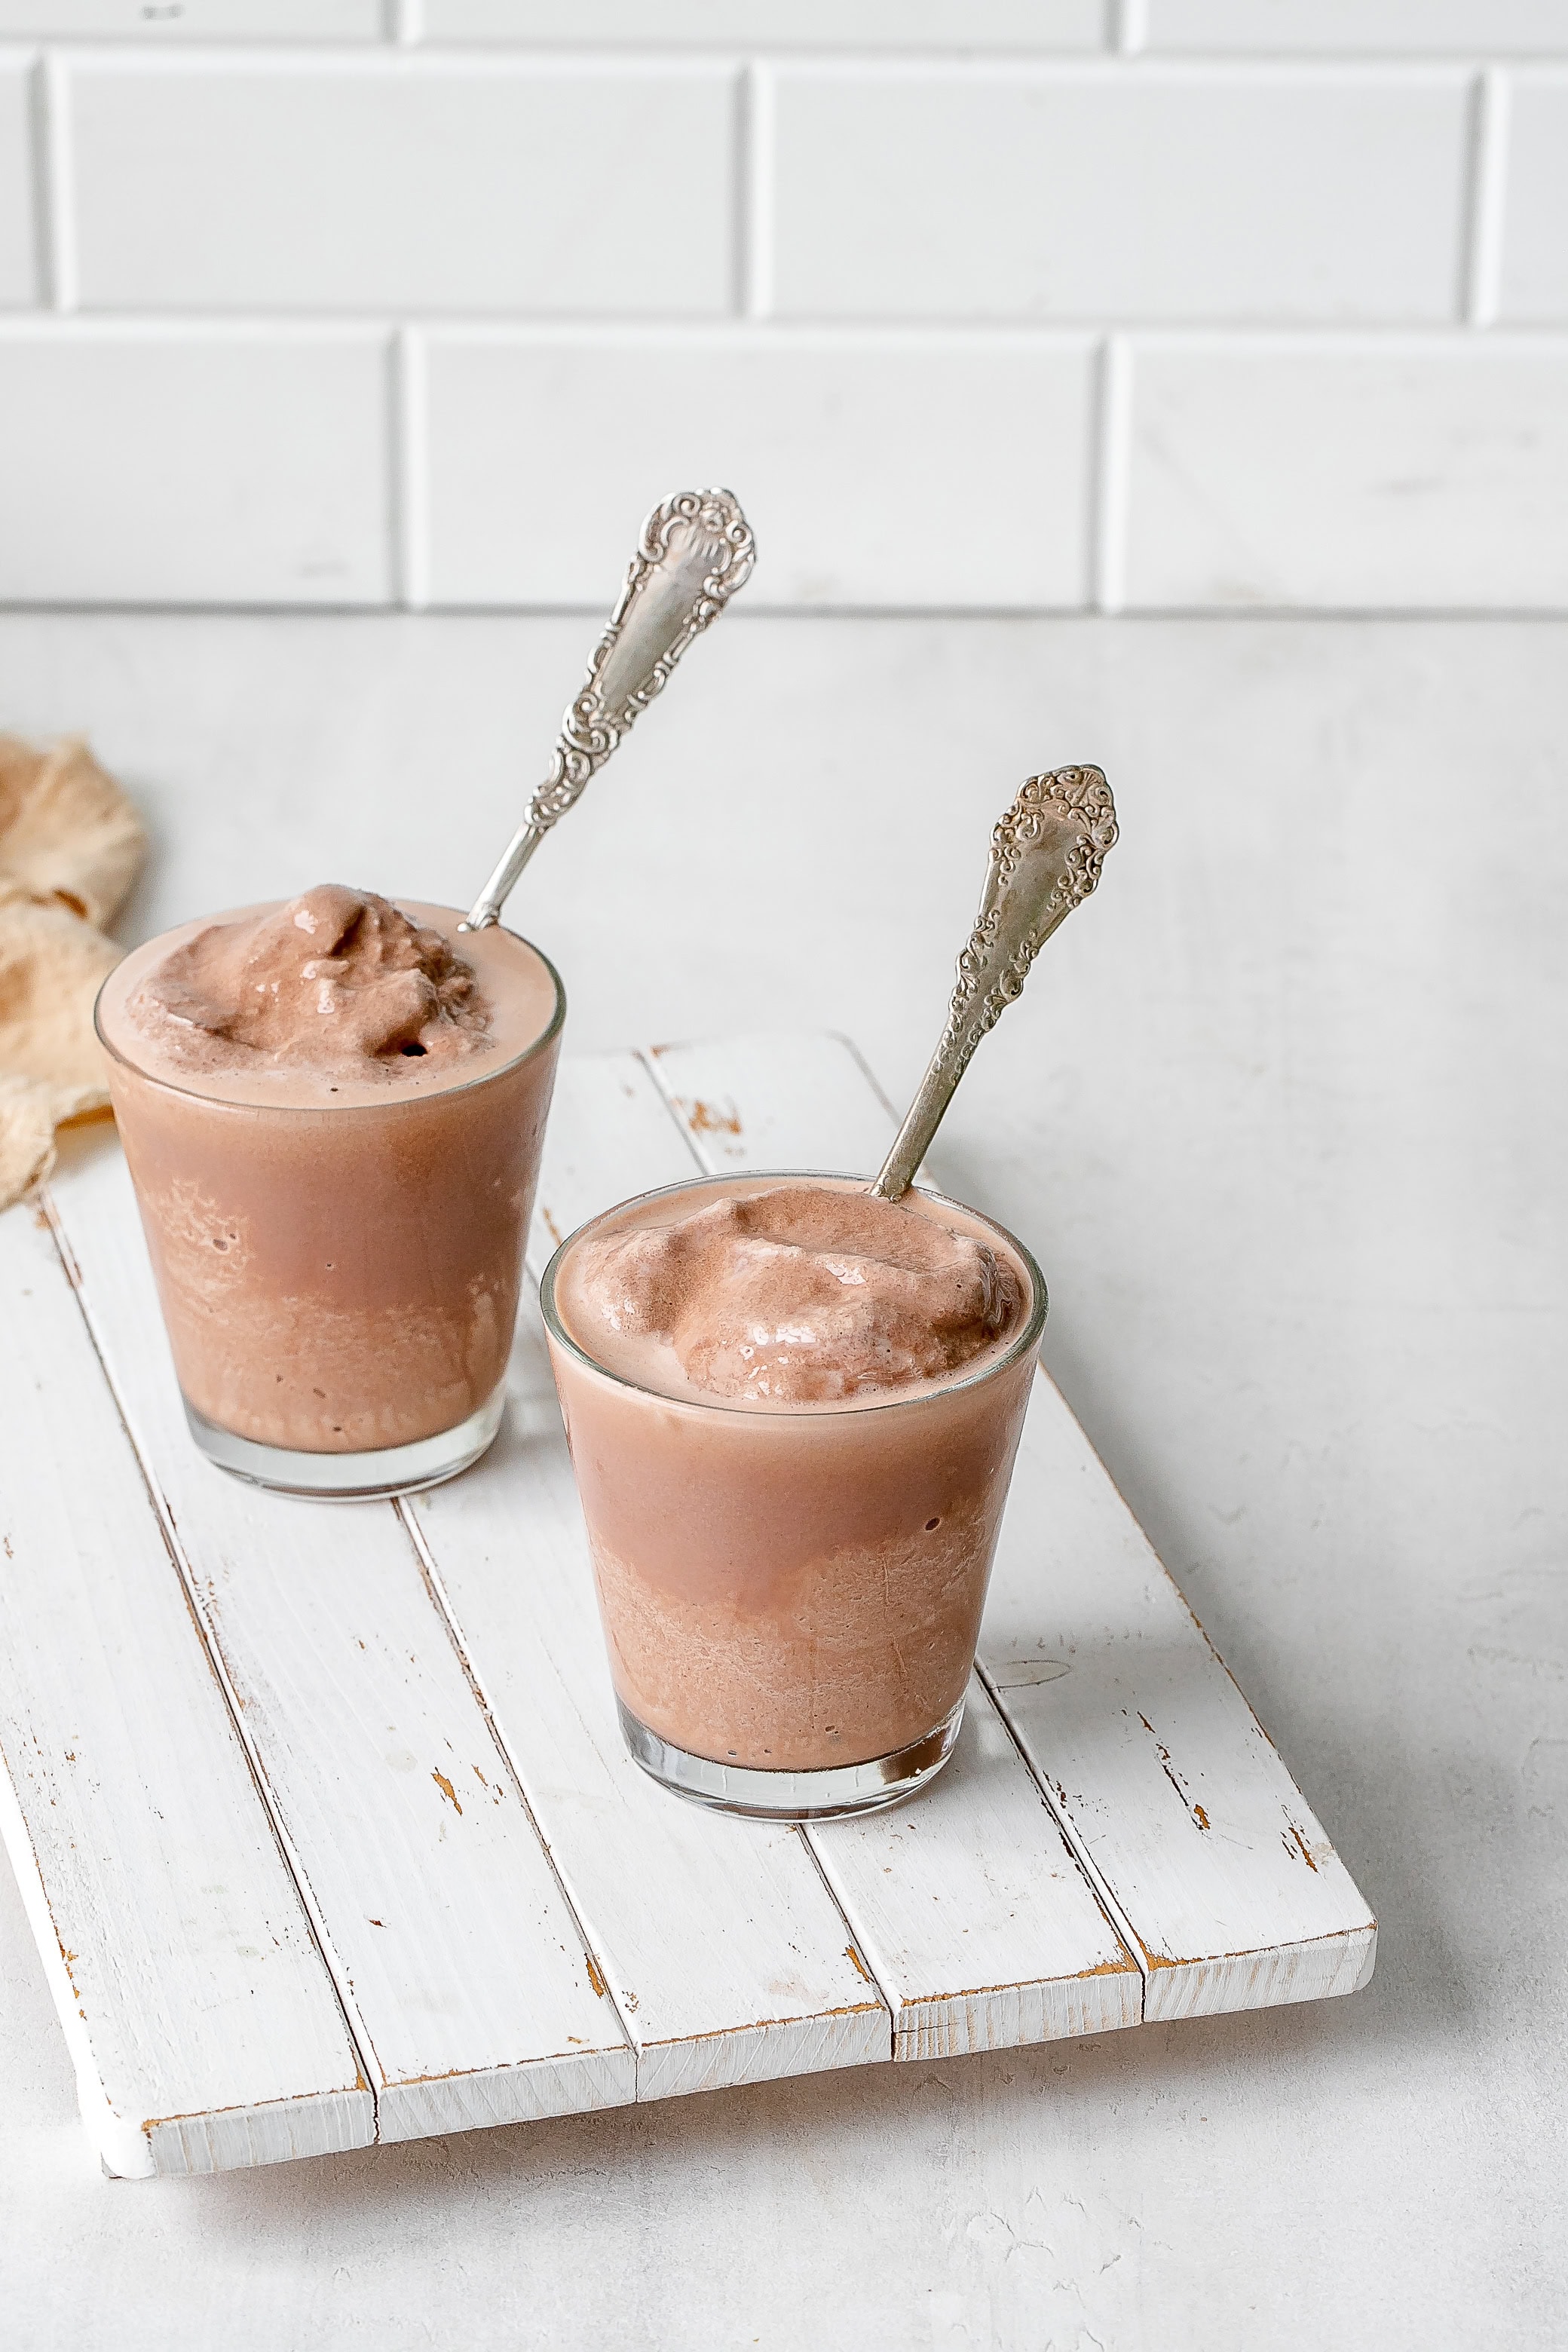
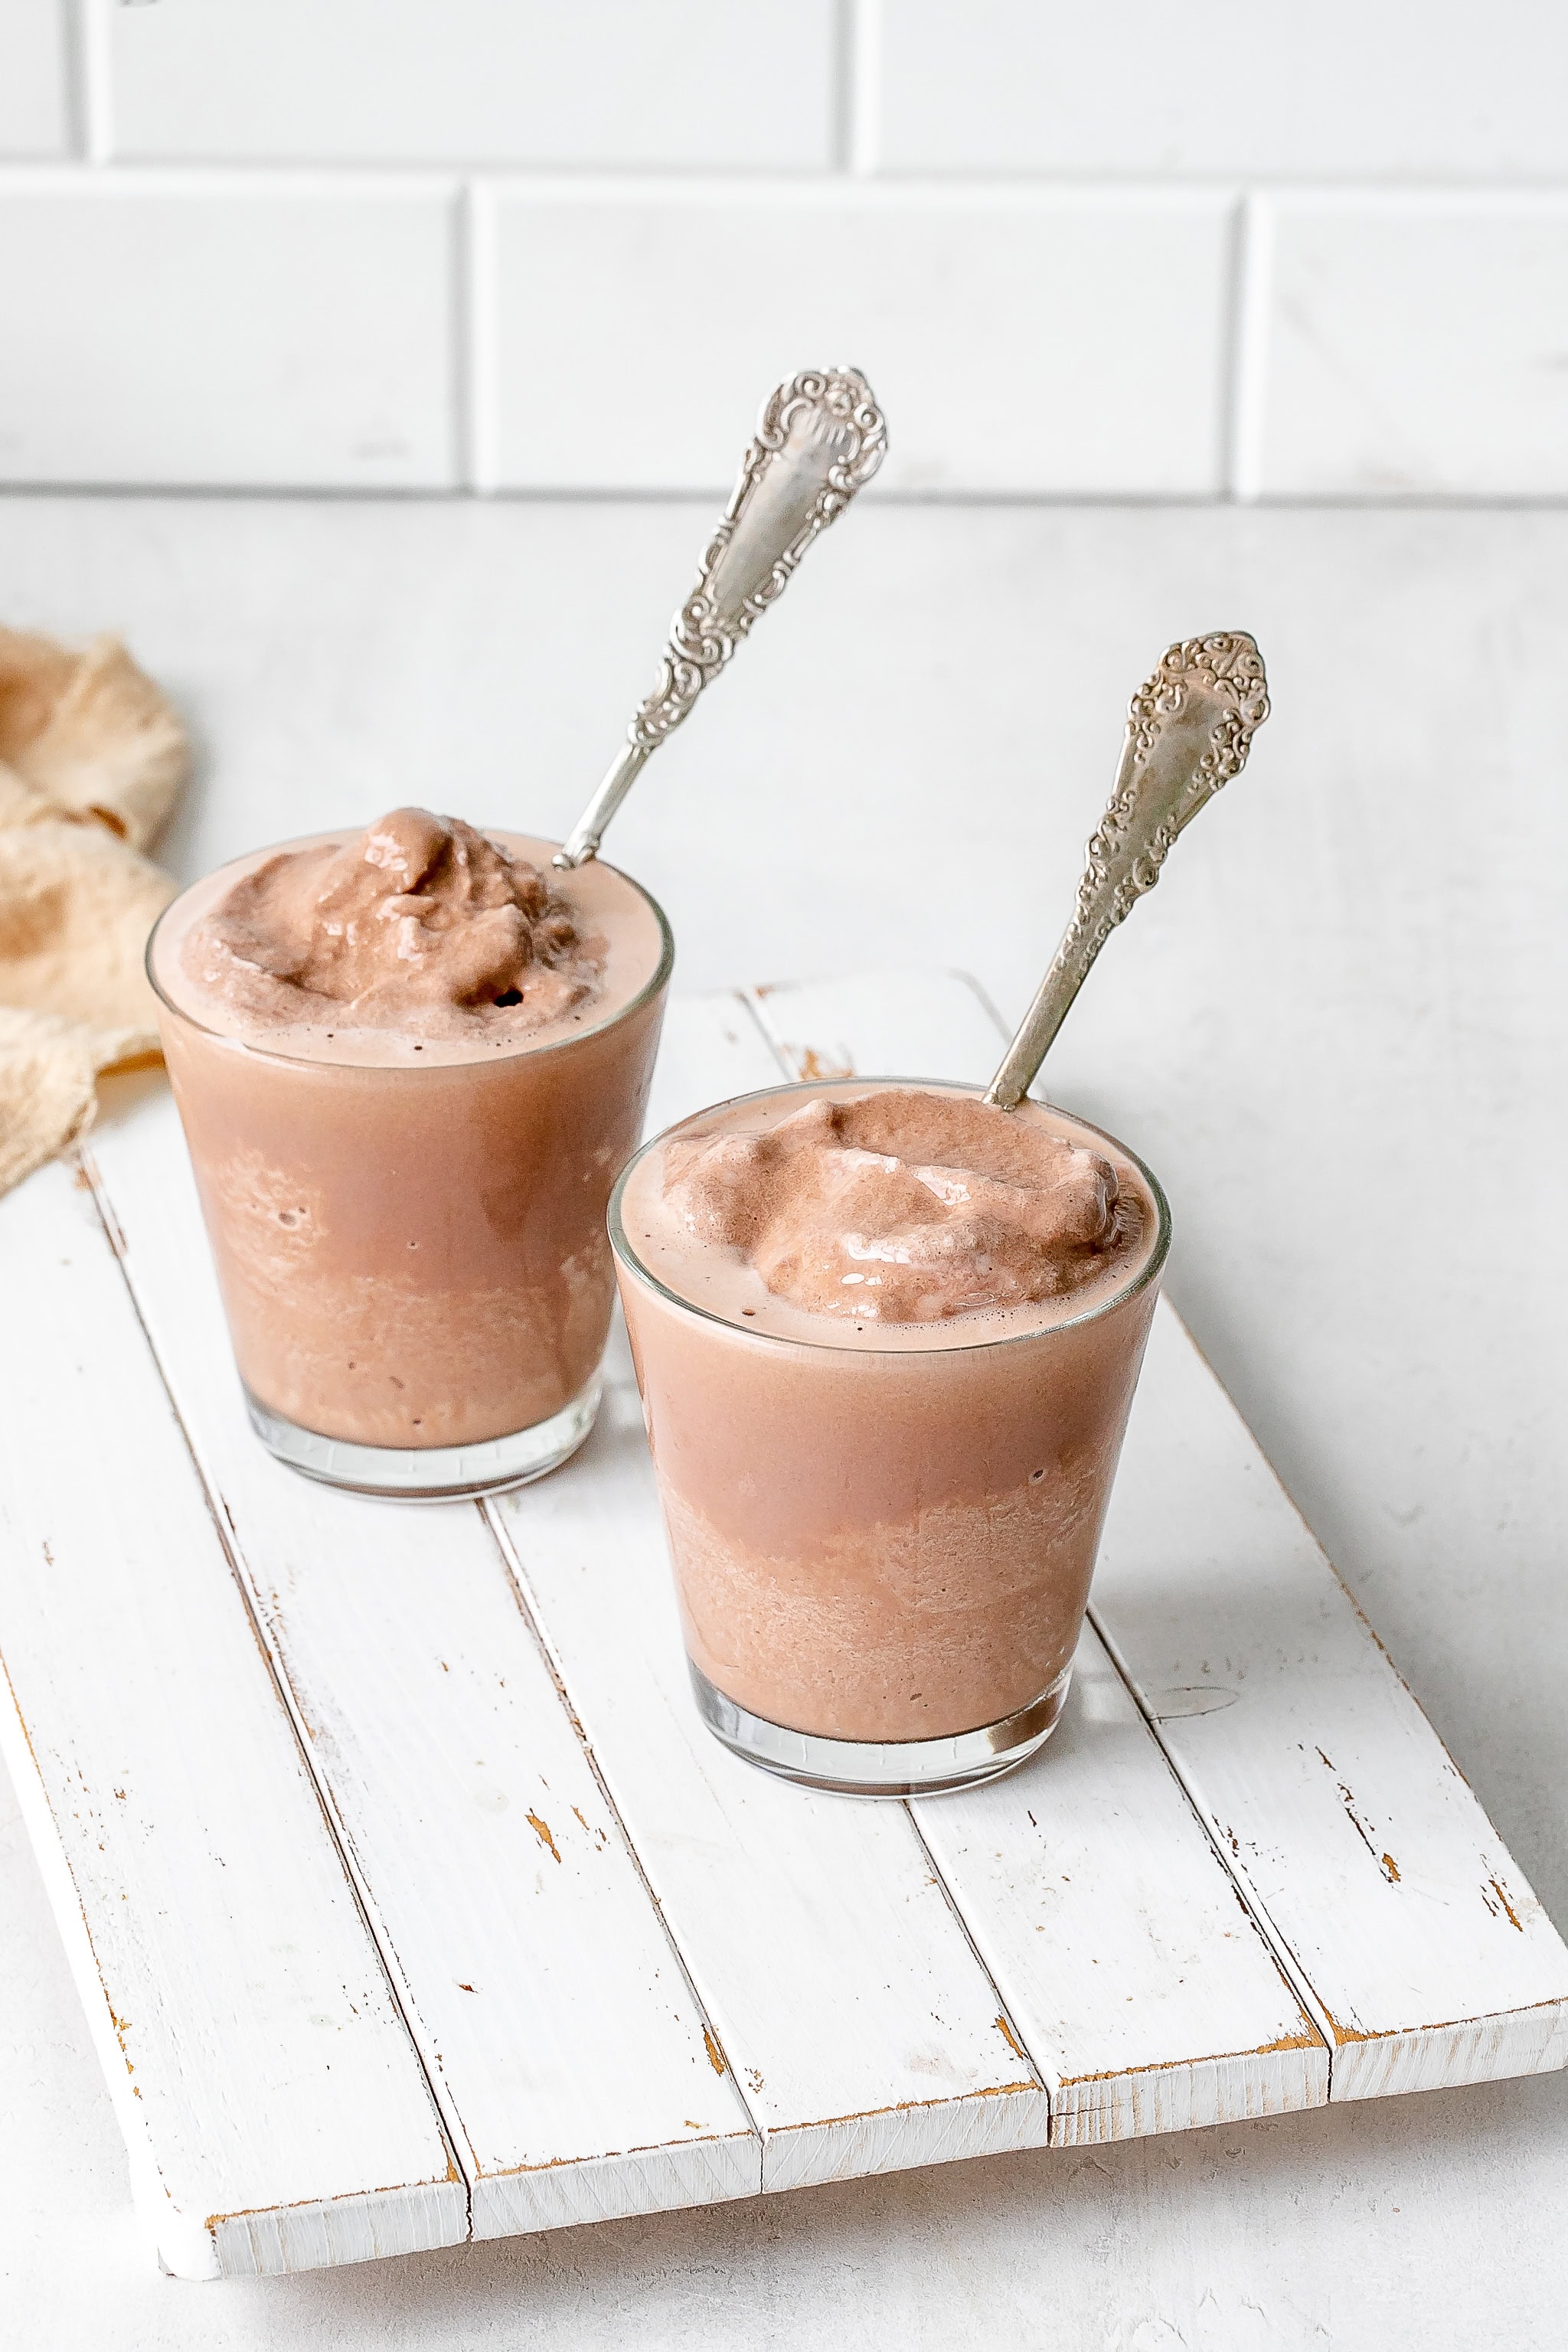
The ninja creami frosty should have lightened up in colour and be thick and creamy. Pour into glasses and enjoy!
Tips For a Creamy Frosty
- Re-spin function: the re-spin function on the ninja creami is a great feature that reprocesses your mixture so you can get a creamy more desirable texture.
- Add additional milk: before you hit the re-spin button, add a small splash (about 1 tsp) of milk to the frosty mixture to get it less icy and smoother.
- Let the mixture sit out: let the ninja creami container sit out at room temperature for about ten minutes prior to mixing. This reduces the amount of times you’ll need to re-spin and helps to create a smooth, creamy texture.
- Use a thickener: to make the best iced desserts in the ninja creami, it’s important to use a thickener to create a more uniform, smooth and creamy consistency. This can be achieved with the pudding mixes, or using a thickener like guar gum.
- Be sure to freeze the mixture long enough: I recommend letting the mixture freeze overnight for best results, 12-24 hours is best.
Tools I Recommend:
For mixing together the Ninja Creami frosty ingredients, I like using my immersion blender with the whisk attachment. I use the canister that the immersion blender comes with and then pour it into the Ninja Creami.
If you don’t have an immersion blender with the whisk attachment, use a milk frother or just whisk together very well. You could also blend it in a blender.
The Ninja Creami is obviously essential to making this healthy frosty at home. I’m fairly new to the Ninja Creami, but after making this frosty several times in one week, I’m a total believer. And I can’t wait to experiment more in the future!
What to do With Leftover Frosty?
If you happen to have some leftover, you can place the lid on top of the container and transfer to your freezer.
Let it thaw again slightly at room temperature and then re-spin. You may need to re-spin twice, but it should work just fine. I did this the second time I made the frosty and it was pretty much just as good as when it was freshly made.
Ingredients & Products I Recommend:
I share these products to show you what I choose to use in my kitchen as staple ingredients I use daily (or weekly).
Immersion blender:
I love using this cordless immersion blender from Cuisinart for blending and puréeing sauces, soups and dressings. Specifically, with this recipe, I use the standing jar with the whisk attachment to blend everything.
Sugar-Free Pudding Mix:
I like using this sugar-free pudding mix in my Ninja Creami. It has a fairly sweet taste, without it being too sweet and it mixes well with the milk.
Ninja Creami:
I have really been enjoying the Ninja Creami. There is a ton of information out there on how best to use the Ninja Creami, and it does take a little bit of learning, but it’s definitely worth it in my opinion.
More Dessert Recipes to Try
Looking for more dessert ideas? Check these out!
- No Bake Cookie Dough Cheesecake
- Healthy No Bake Cheesecake in a Jar
- High Protein Chocolate Mousse with Greek Yogurt
- No Bake Cookie Dough Bites
- Avocado Key Lime Pie in a Jar
- Chocolate Avocado Pudding
- Vegan Peanut Butter Pie
- Caramel Cheesecake Dip
- Paleo Chocolate Pudding with Gelatin
- Healthy Chocolate Truffles
- Mini Egg Cookie Bars
Ready to make this? Let’s go!
If you make this Ninja Creami Frosty, please let me know by tagging me on Instagram, or leave a comment and/or review below!
This post contains affiliate links, which means I may receive a small commission at no extra cost to you. I only share products and services I have personally used and love. Disclosure here.
Print
Ninja Creami Frosty (Copycat Wendy’s Frosty)
- Prep Time: 5
- Inactive Time: 1440
- Total Time: 24 hours 5 minutes
- Yield: 2 1x
- Category: beverage
- Method: ninja creami
- Cuisine: American
- Diet: Gluten Free
Description
This Ninja Creami frosty tastes just like the creamy Wendy’s frosty you love, but with only four ingredients and way less sugar.
Ingredients
- 1 1/2 cups chocolate milk (plus 1 tsp for re-spin)
- 2 tsps sugar-free chocolate pudding mix
- 1 tsp vanilla extract
- 1/2 tbsp sugar (optional, I use plain white sugar)
Instructions
- Combine the 1 1/2 cups of milk, pudding mix, vanilla and sugar in a tall standing jar and use a whisk to thoroughly combine. I like using my immersion blender with the whisk attachment.
- Transfer to the ninja creami container and place on a flat surface in the freezer for 24 hours. Typically, I freeze without the lid to avoid the hump in the center.
- Remove the container and let stand at room temperature for about ten minutes.
- Insert the container in the ninja creami outer bowl, add the lid and lock it into position. Press the lite ice cream setting.
- When the ninja creami is done, remove the outer bowl and pour in the remaining 1 tsp of chocolate milk in the center. Press the re-spin button.
- The ninja creami frosty should have lightened up in colour and be thick and creamy. Pour into glasses and enjoy!