Blue Cheese Stuffed Pears
This post contains affiliate links, which means I may receive a small commission at no extra cost to you. I only share products and services I have personally used and love. Disclosure here.
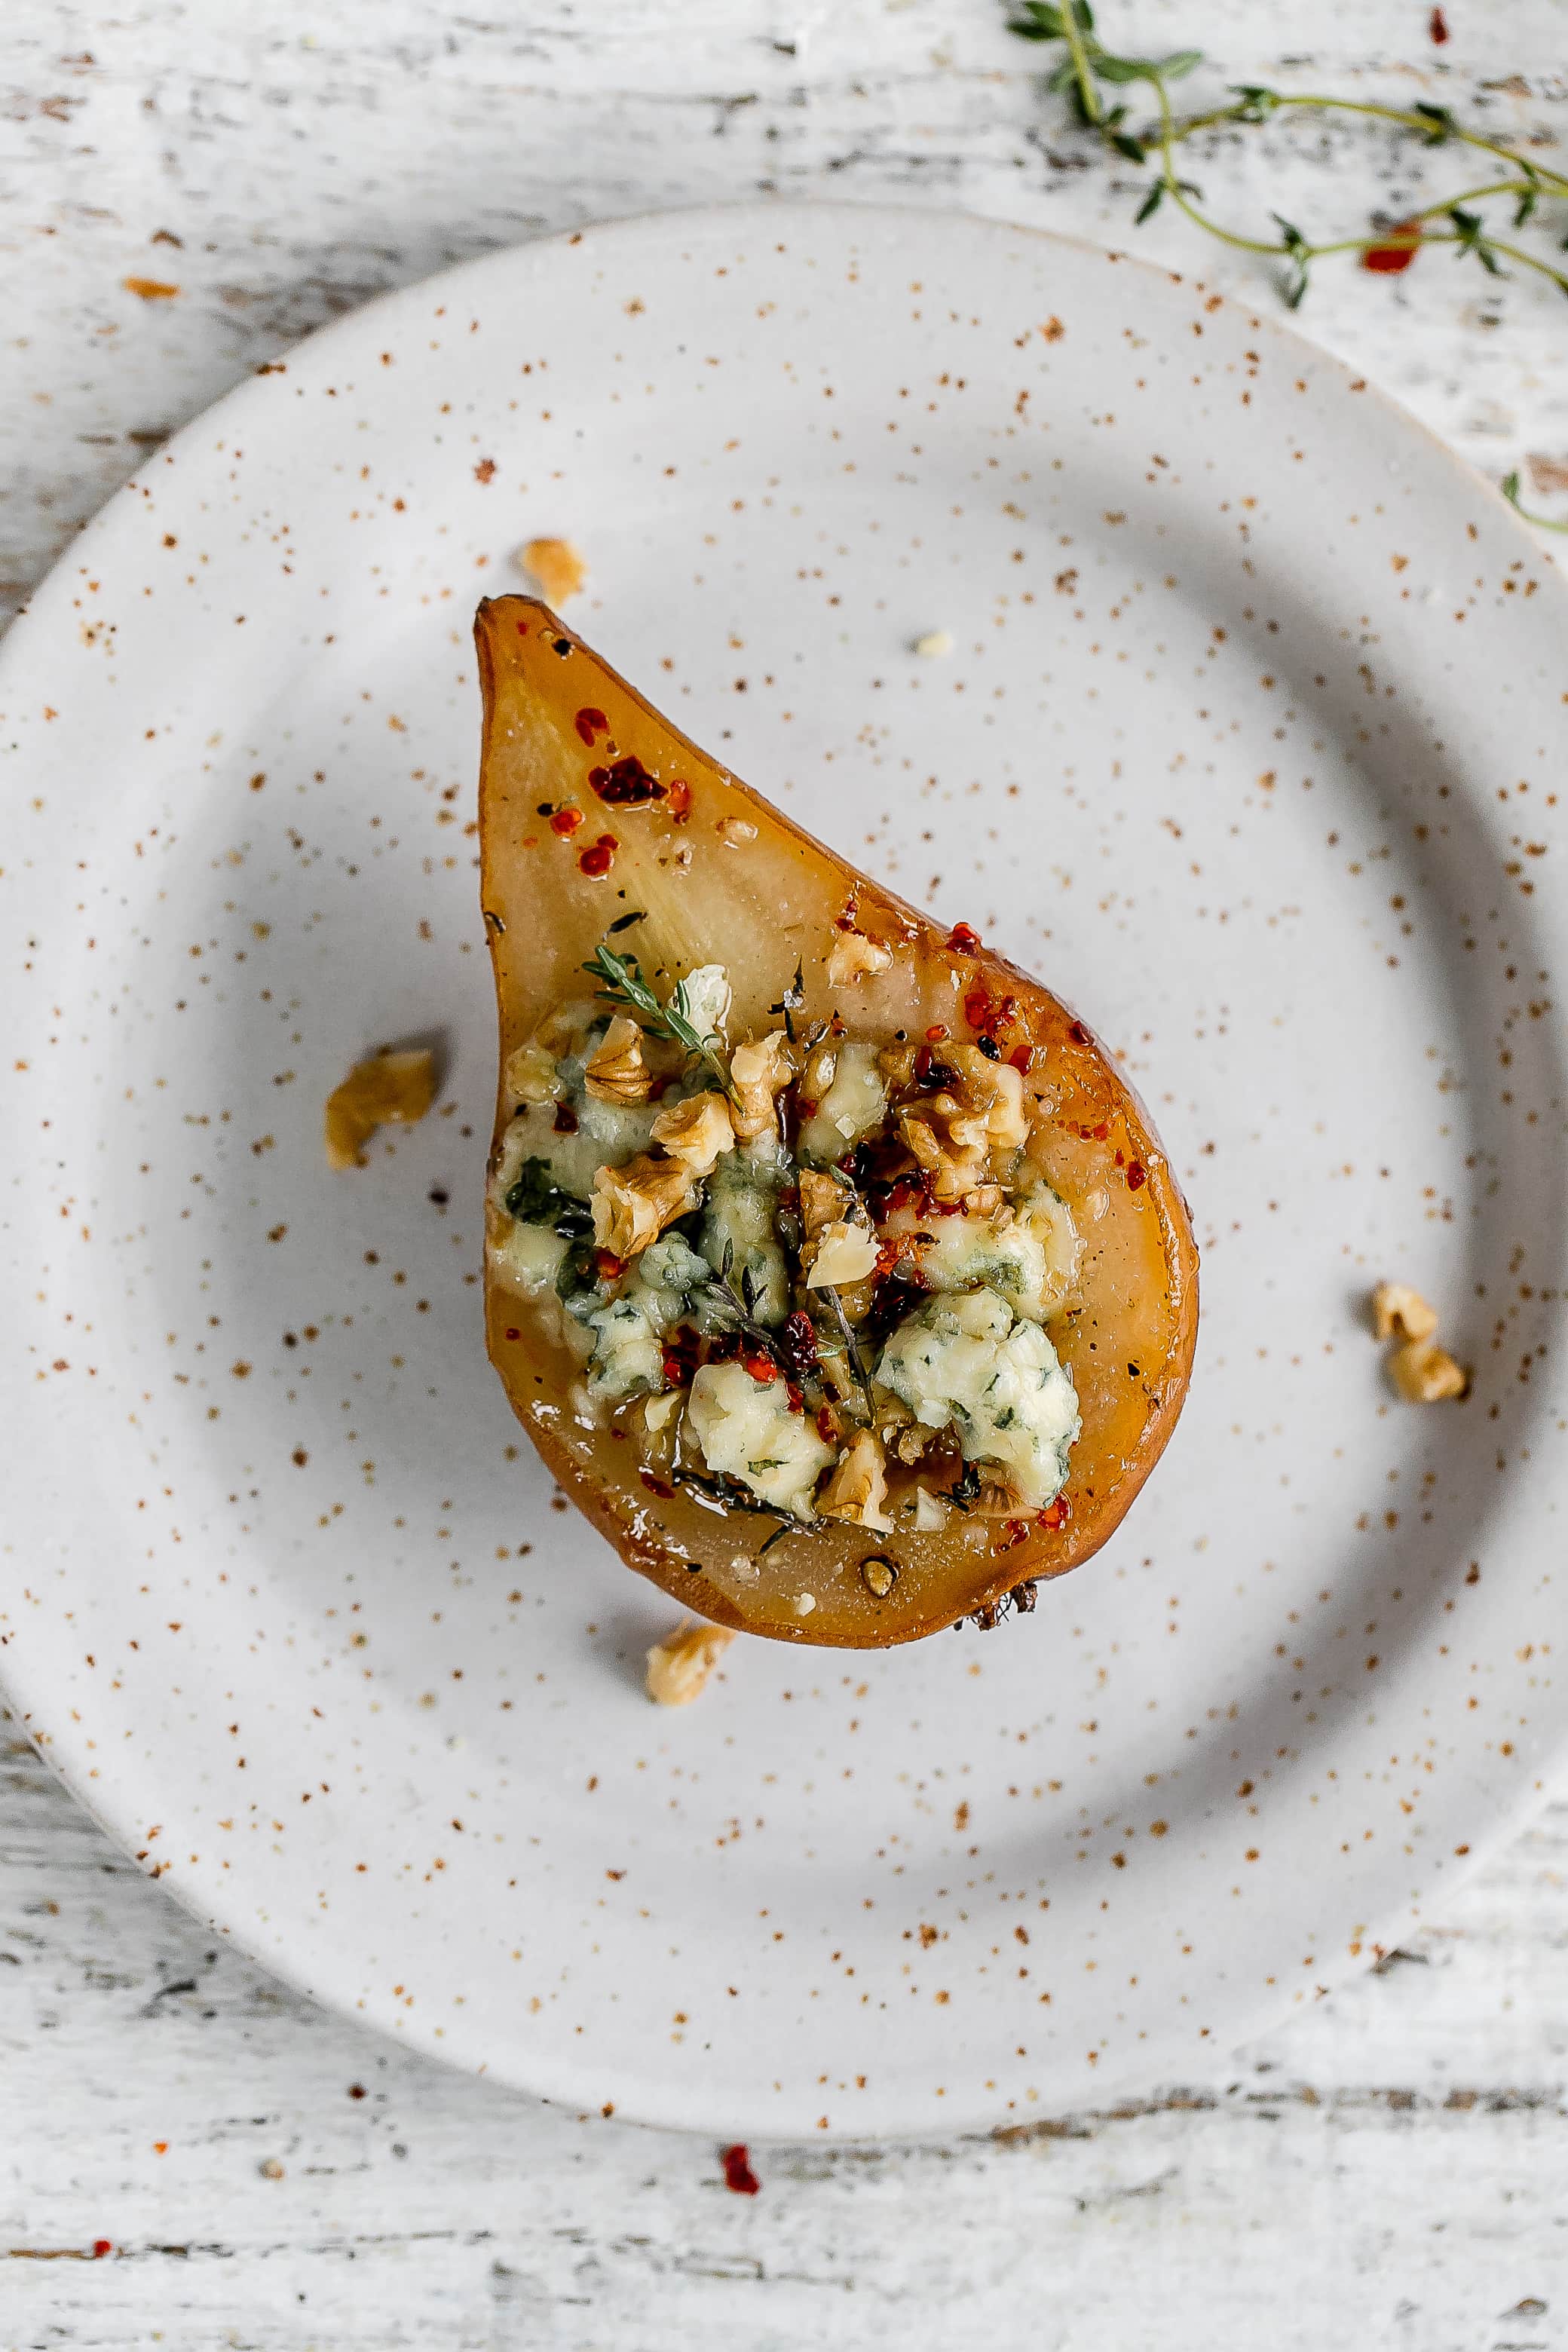
These blue cheese stuffed Bosc pears are truly the easiest appetizer ever. They’re mostly hands-off and they look way fancier than they are (my personal motto when it comes to food).
I love the combination of the salty and savory blue cheese with the subtle sweetness of the pears and the honey.
Crunchy toasted walnuts add some texture and the Aleppo pepper adds a little heat.

I truly believe that pears are so underrated. In fact, I think I may prefer them to apples sometimes.
And when it comes to the different types of pears, I generally stick to Bosc because I love the firmness of them. They hold up so well in salads, as well as in these savory stuffed pears with blue cheese.
Ingredients
One of the reasons you’ll love this savory roasted pears recipe is that you only need eight ingredients!
- Bosc pears
- extra virgin olive oil
- blue cheese
- walnuts
- fresh thyme
- honey
- Aleppo pepper
- flaky salt

Which Pears Are Best For Roasting?
Although you can technically use any pear to bake or roast, these would be the top recommendations as they hold their shape better under heat.
- Bosc
- Anjou
- Bartlett
- Forelle

How to Make Savory Stuffed Pears
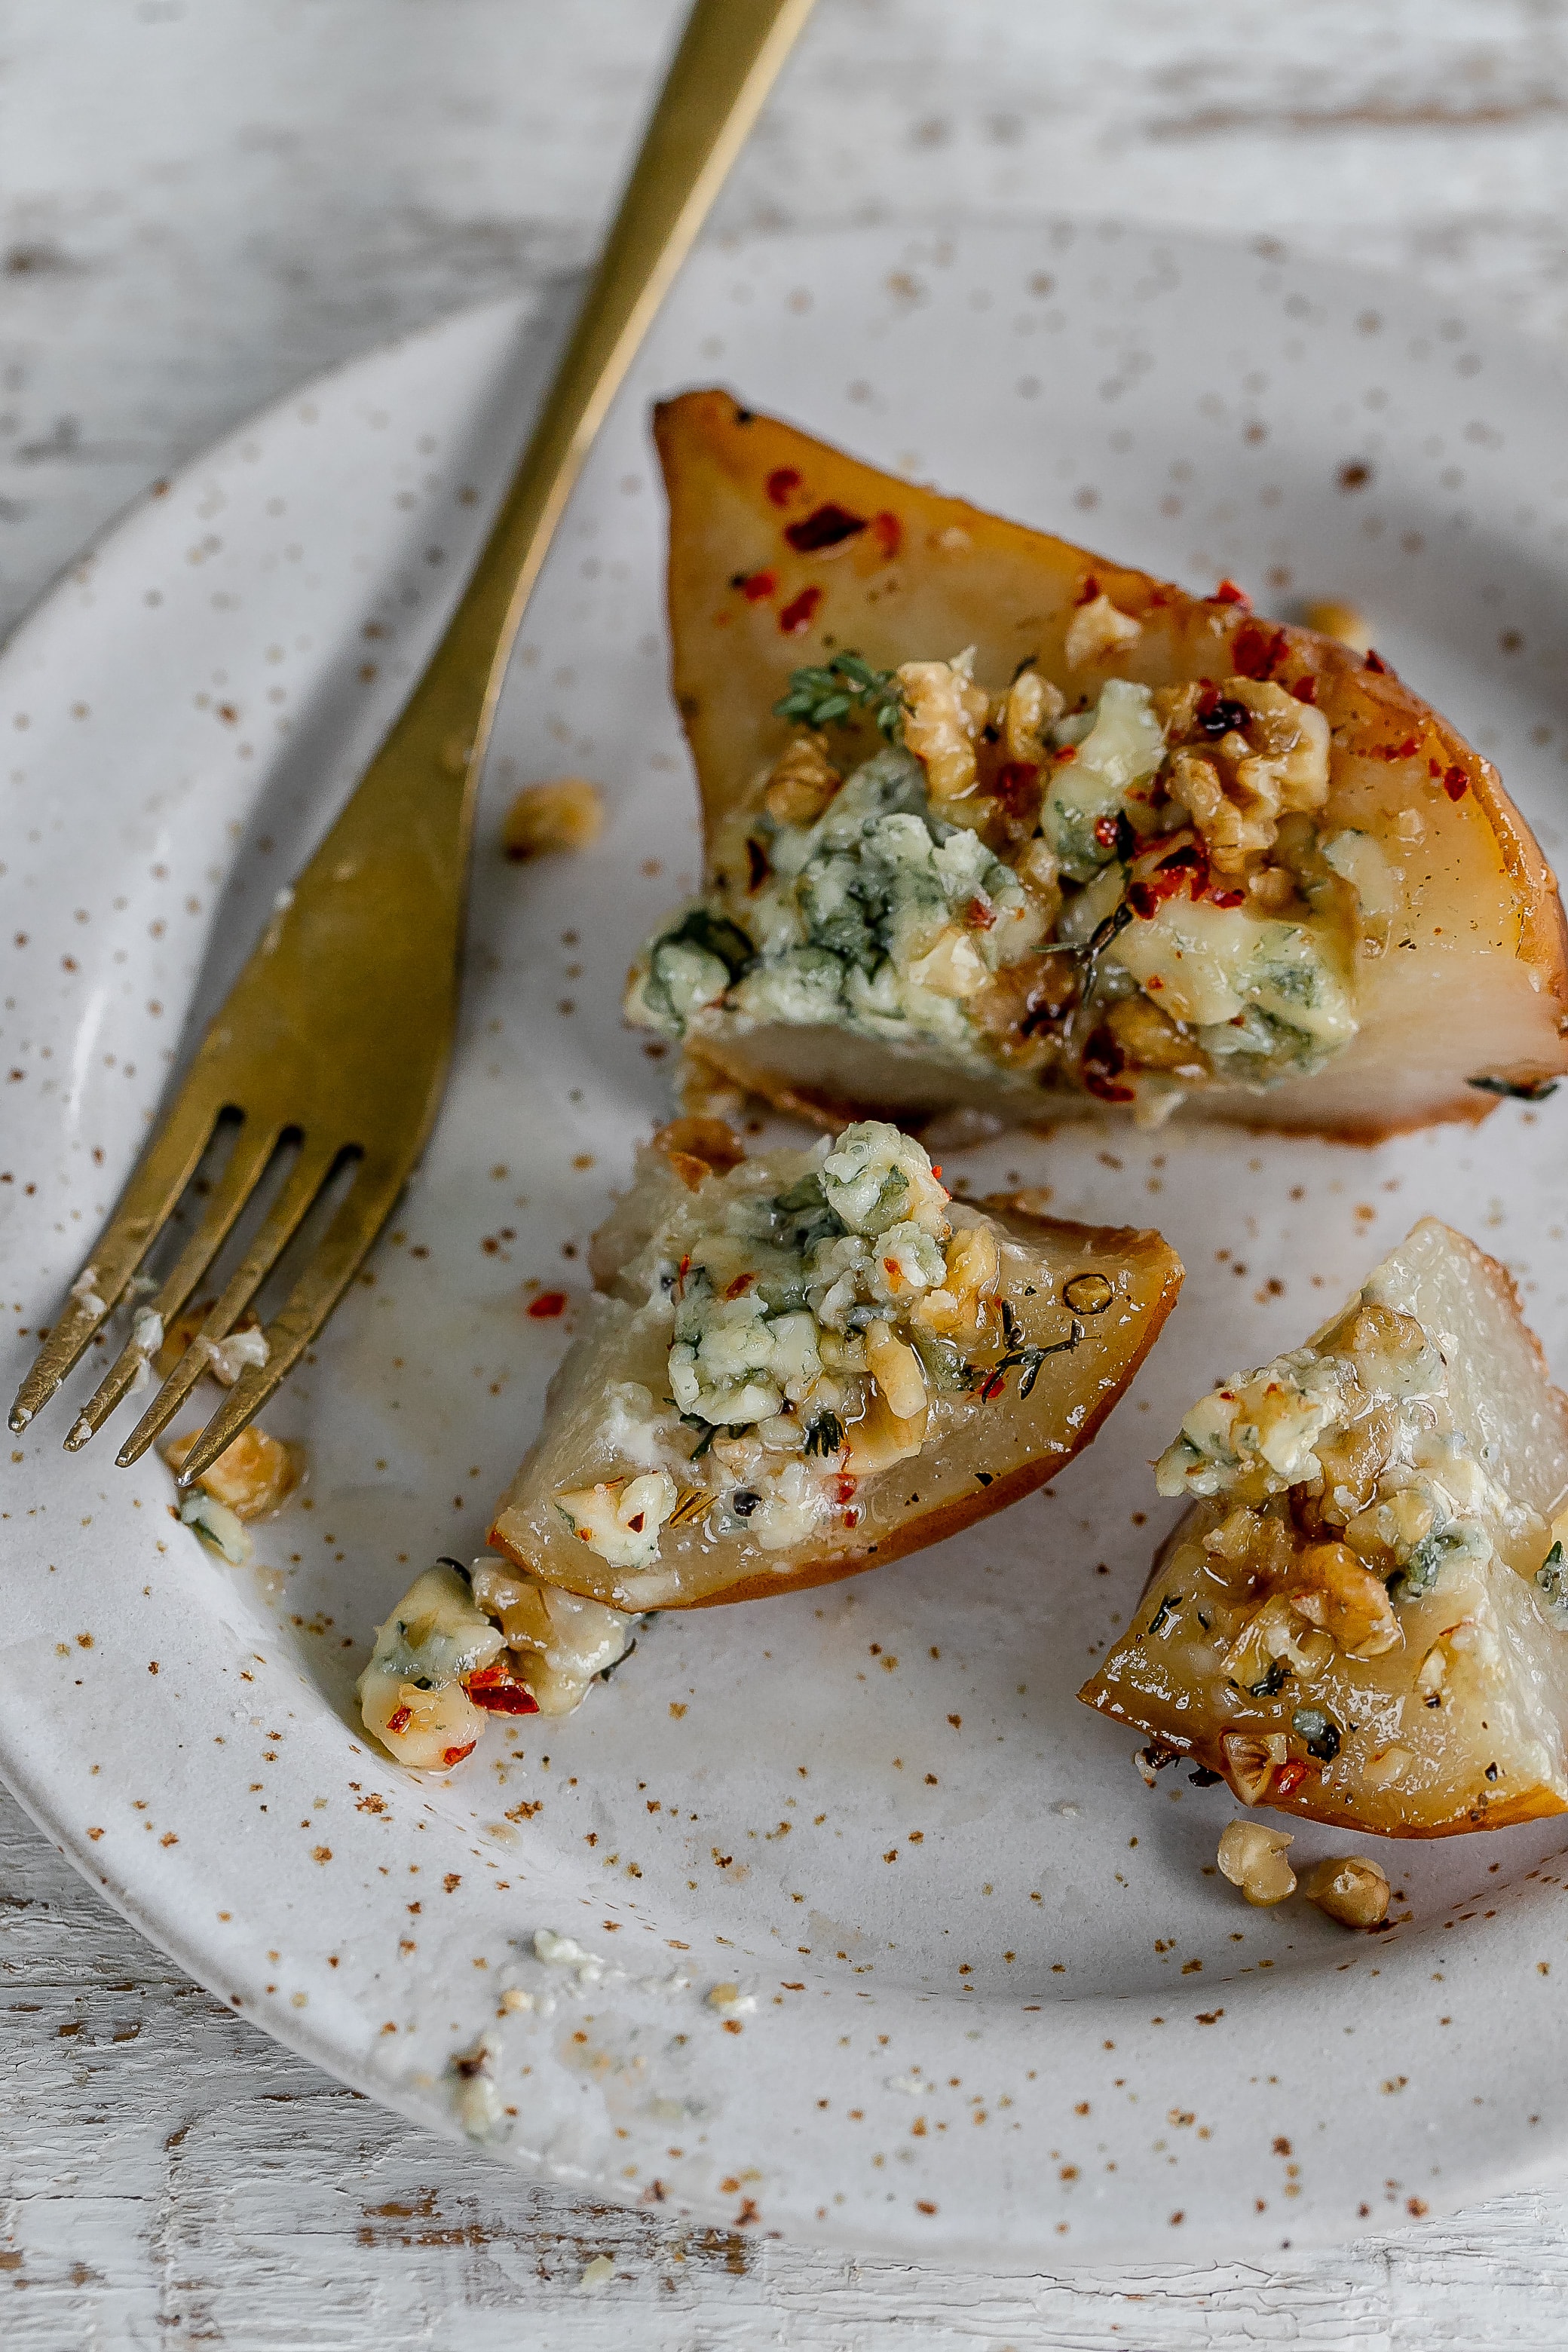
Making these stuffed pears is super easy and very hands off, which makes it a great appetizer to make for sharing with guests. Plus you can really dress them up and make them look fancier than they are. Win-win!
Slice the pears in half lengthwise and remove the core and seeds.

Place in a cast iron skillet (or a baking dish), cut side up. Drizzle with the olive oil and season lightly with salt and pepper. Transfer the pears to the oven and bake for 15 minutes.

Remove the pears and stuff with the blue cheese, walnuts and thyme.

Place back in the oven for eight to ten minutes, until the cheese has melted a little.

Mix the honey with Aleppo pepper in a small bowl.
Once the pears are done cooking, transfer to a platter (or plates) and drizzle with the honey and garnish with flaky salt and extra thyme (if desired).
Substitutions
- Bosc pears: see above for the best pears to use for roasting and baking.
- Blue cheese: I get it, not everyone is a fan of blue cheese (which is a shame lol), instead use goat cheese. I prefer a milder blue cheese here, like Danish blue cheese or gorgonzola.
- Thyme: use another fresh herb, rosemary would be great.
- Aleppo pepper: although I love Aleppo pepper and use it very often, if you don’t have it, substitute with chili flakes. The flavour is a little different, but it will work.
- Nut free: use pumpkin seeds instead.
- Walnuts: use almonds or pecans instead.
- Cast iron skillet: use a baking dish instead.
Air Fryer Baked Pears
I love my air fryer! So feel free to use that instead of the oven if you’d like.
This is a great option if you’re not making too many or don’t have access to/or don’t want to turn on your oven.
Reduce the temperature to 380℉ and bake for eight minutes to start. Add the cheese and then bake for another four to five minutes.

Which Air Fryer Do I Use & Recommend
I recently purchased a new air fryer, the Cosori based on doing a TON of research online and I absolutely love it. Here’s why.
- Gets food super crispy, golden and brown without a lot of oil.
- Digital touch is very responsive and easy to use
- Large enough to fit a good amount of food in it. I’ve used it to make fries and 1 large russet potato cut into fries easily fit in.
- Shake function reminds me when to flip my food.
- Pre-set options make it easy for knowing which temperature and time to cook food for.
Check out the Cosori Air Fryer here!

More Appetizer Recipes
Looking for more appetizers, check these ones out!
- Air fryer calamari
- Prosciutto Wrapped Persimmons
- Air Fryer Brie Bites with Fig Jam
- Vegan Cashew Queso Dip
- Air fryer coconut shrimp with Thai sweet chili sauce
- Harissa & squash red lentil dip (vegan)
- Air fryer Jalapeño Poppers
- Healthy french onion dip
- Butternut squash hummus with fried sage and dukkah
- Bang Bang Shrimp (air fryer)
Ready to make this? Let’s get to it!
If you make these blue cheese stuffed pears please share with me, by tagging me on Instagram or leave a comment and/or review below. I truly love seeing and hearing form you!
This post contains affiliate links, which means I may receive a small commission at no extra cost to you. I only share products and services I have personally used and love. Disclosure here.
Print
Blue Cheese Stuffed Pears
- Prep Time: 10
- Cook Time: 25
- Total Time: 35 minutes
- Yield: 6 1x
- Category: appetizer
- Method: oven
- Cuisine: American
Description
These blue cheese stuffed pears are a delicious appetizer to serve to guests. Top with walnuts, spiced hot honey, fresh thyme and enjoy!
Ingredients
- 3 large Bosc pears
- 1–2 tsp extra virgin olive oil
- 2 1/2 oz blue cheese (Danish blue cheese, crumbled)
- 1/3 cup walnuts, chopped
- 3 sprigs fresh thyme, removed from the stem
- 1–2 tbsps honey
- 1/2 tsp Aleppo pepper
- flaky salt, for garnish
Instructions
- Preheat the oven to 400℉.
- Slice the pears in half lengthwise and remove the core and seeds. Place in a cast iron skillet (or a baking dish), cut side up. Drizzle with the olive oil and season lightly with salt and pepper. Turn the pears cut side down.
- Transfer the pears to the oven and bake for 15 minutes.
- Remove the pears, turn them cut side up and stuff with the blue cheese, walnuts and thyme. Place back in the oven for eight to ten minutes, until the cheese has melted a little.
- Mix the honey with Aleppo pepper in a small bowl.
- Once the pears are done cooking, transfer to a platter (or plates) and drizzle with the honey and garnish with flaky salt and extra thyme (if desired). Enjoy!